Snort is a highly popular open source IDS/IPS initially created by Martin Roesch of Sourcefire in 1998. Cisco purchased Sourcefire back in 2013 and has taken over development of Snort. One great thing is that it’s cross-platform and can be deployed on Linux, Windows or macOS. Here is what the official Snort website has to say about the software:
Snort is the foremost Open Source Intrusion Prevention System (IPS) in the world. Snort IPS uses a series of rules that help define malicious network activity and uses those rules to find packets that match against them and generates alerts for users.
Snort can be deployed inline to stop these packets, as well. Snort has three primary uses: As a packet sniffer like tcpdump, as a packet logger — which is useful for network traffic debugging, or it can be used as a full-blown network intrusion prevention system. Snort can be downloaded and configured for personal and business use alike.
Source: snort.org
As you can tell from the description, Snort is pretty awesome and effective at identifying threats within a network and responding accordingly. In this post I will be covering some of the IDS (NIDS) aspects of Snort. In a future post I’ll get into the IPS characteristics and showcase what it’s capable of. Let’s get started with the IDS side of things.
First, lets get Snort installed. We will be using Linux here:
sudo apt install snort -y
Once you begin the install, you’ll encounter a configuration screen asking for information on your local IP address range:
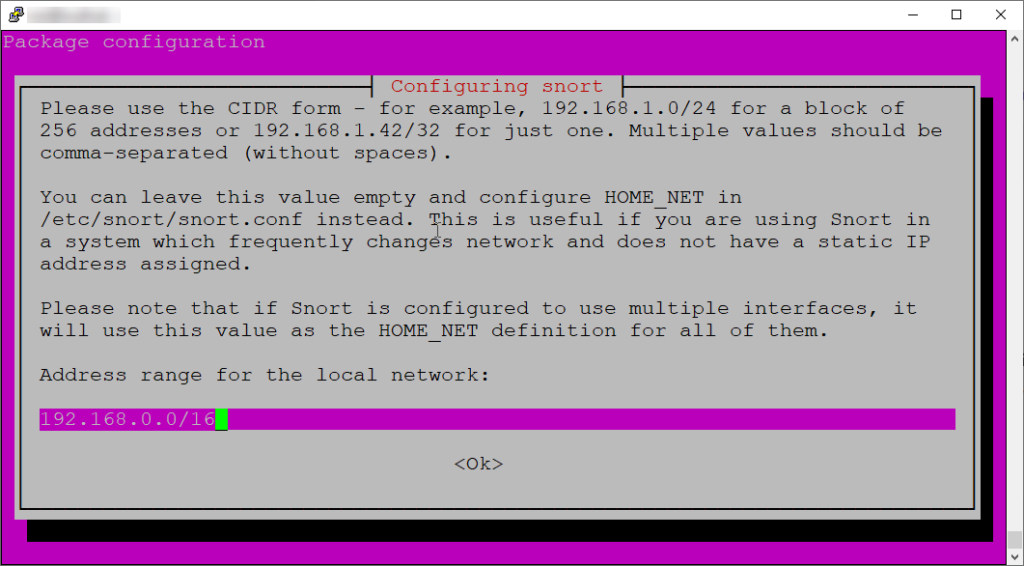
If you don’t have your IP address range handy for this installation step, don’t worry there are a couple other places you can configure it afterwards.
Now that we have Snort installed, let’s enable it at startup:
sudo systemctl enable snort
Now that we have Snort installed, enabled at startup and have network configured, we can take a look at the directory structure.
cd /etc/snort
ls -la
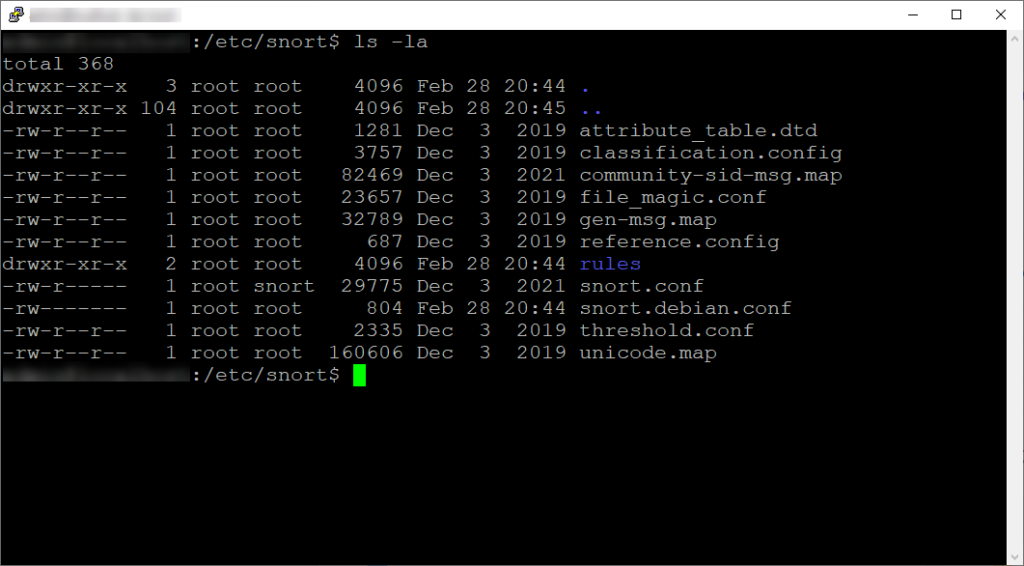
I won’t go into detail of what each configuration file is for, but I’ll cover what snort.conf and snort.debian.conf is for.
Main Directory (/etc/fail2ban)
snort.conf – This is the main configuration file for Snort. It contains the core configuration settings for Snort, such as network interfaces to monitor, preprocessors, rulesets, output plugins, and logging options. Users typically interact with this file directly to configure Snort according to their requirements.
snort.debian.conf – This file is Debian-specific and may contain additional settings or overrides specific to the Debian packaging of Snort. When installing Snort on a Debian-based system, the dpkg-reconfigure command may prompt users to set certain configuration options and the responses are stored in snort.debian.conf. This file includes adjustments or optimizations for Debian-based systems and can override what is stored in the snort.conf file, more on that later.
Logging
/var/log/snort – this is the directory where you’ll typically find various log files generated by Snort during its operation. These logs can contain information about detected network events, such as suspicious packets, potential attacks, or policy violations. The specific files and their contents may vary depending on how Snort is configured and what rulesets are being used.
Earlier I shared the configuration screen during Snort installation. If you don’t enter your IP range on that screen, don’t worry you can do so in the snort.debian.conf file.
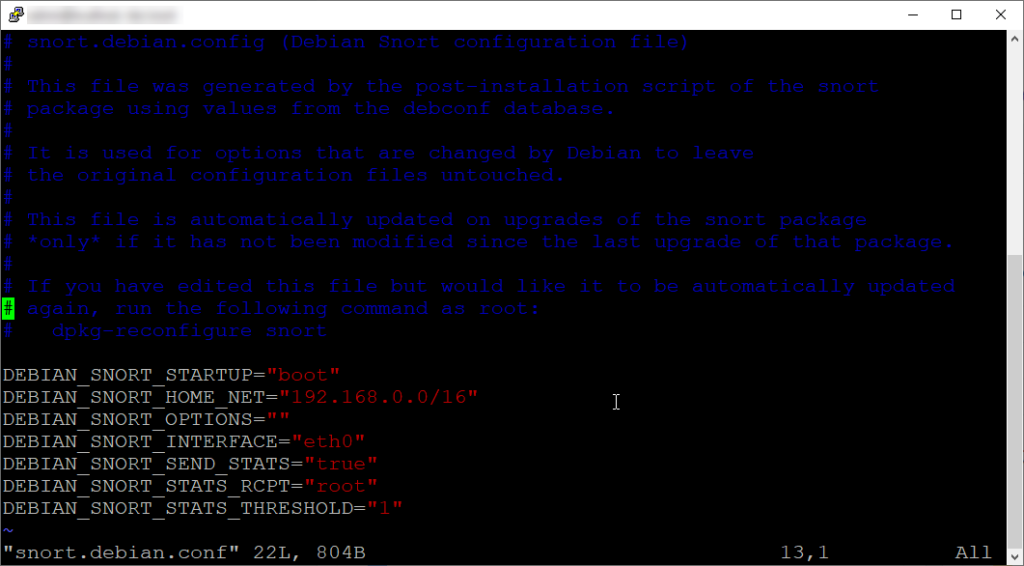
As you can see, this configuration file contains network information settings. Most notably the HOME_NET and SNORT_INTERFACE. If you had not configured these during the installation process, you can set them here. Make sure you read the comments on the top of this configuration file.
Moving on, the main file we want to focus on is the snort.conf file. This is the main configuration file for Snort. Lets take a look:
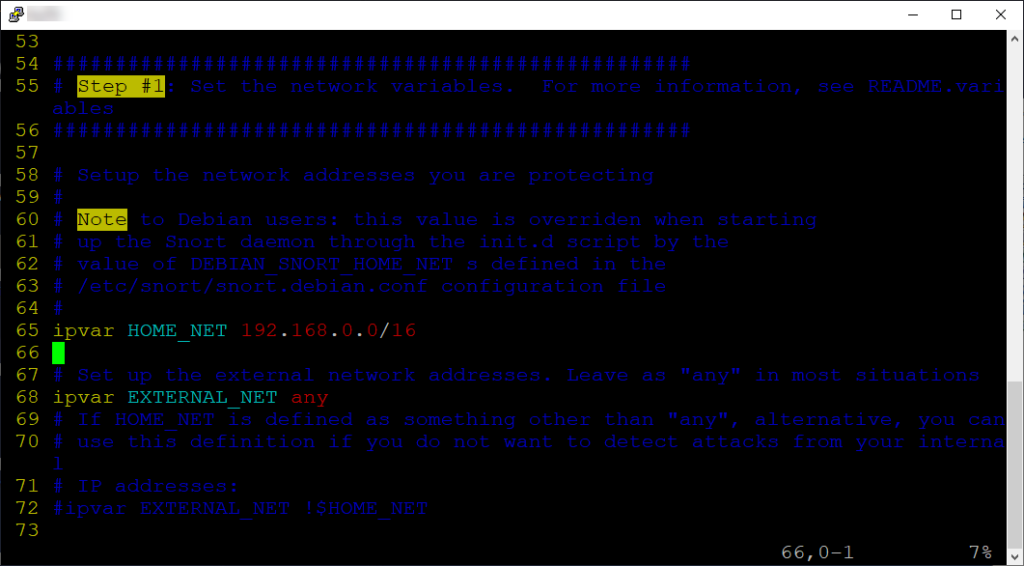
Note the following:
Setup the network addresses you are protecting
# Note to Debian users: this value is overriden when starting
# up the Snort daemon through the init.d script by the
# value of DEBIAN_SNORT_HOME_NET s defined in the
# /etc/snort/snort.debian.conf configuration file
Although Snort’s default configuration file is the /etc/snort/snort.conf file, the snort.debian.conf file also holds configuration settings in Debian environments. This Debian-specific file is where the settings are stored when you run the dpkg-reconfigure command. This configuration file is used by the /etc/init.d/snort startup script and the settings in it take precedence over the corresponding settings in the /etc/snort/snort.conf file as mentioned in the comments in the snort.conf file quoted above.
In here on Step #1, I would set the HOME_NET IP address to match our IP address range we are protecting. I placed this setting in the snort.debian.conf file, but we can place it here as well.
Moving onto the rest of the snort.conf file, we can see a section (Step #6) where we can designate output log locations. I left this in the default setting, but you can feel free to mess with this if you like.
Moving towards Step #7 we have all the rules listed that are active. Since we will be testing a specific rule here, I want to comment out all the unnecessary rules so we don’t encounter any errors for unconfigured rules when testing Snort. This will simply clean up our output so we aren’t overwhelmed with text. In order to do this we must enable the line numbers in our text editor of choice.
I like to use Vim for my text editing and enabling the line number counter with syntax on. You can do this by so:
sudo vim /root/.vimrc
set number
syntax on
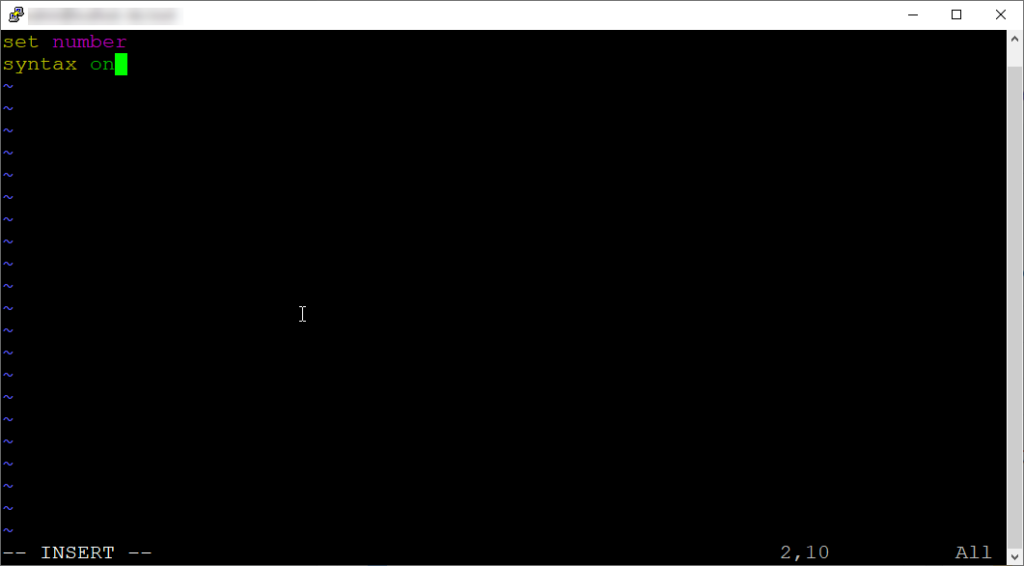
Then proceed to write and quit to save these global Vim settings. Next time you open Vim, you should have line numbers and syntax enabled.
If you don’t want to modify the global settings you can just type :set number and :syntax on while in normal mode. These settings will revert if you quite. Anyways, lets move on.
Depending on which version of snort you are on, it will dictate where the rules start and end. For me it was lines 598-717. So I can type the following to comment out these rules/lines:
:567,678s/^/#
This will comment out all the rules in one shot. Now we can write and quit our changes to the file.
Let’s create some rules! For this example I want to create a rule that will detect nmap SYN scans on our network. We will place our rule in the /etc/snort/rules/ directory.
sudo vim /etc/snort/rules/nmap.rules
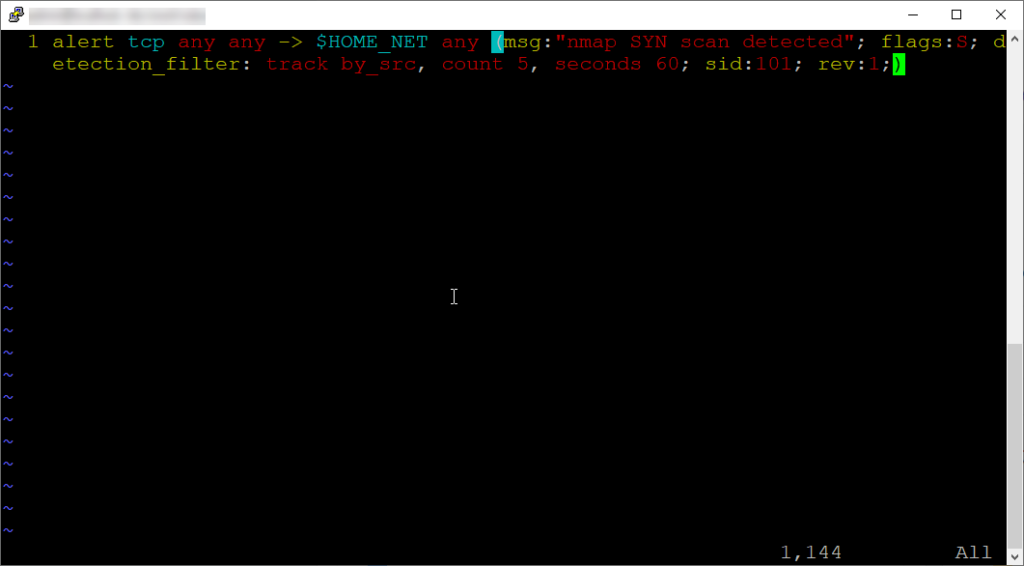
Here is the rule we will be using:
alert tcp any any -> $HOME_NET any (msg:"nmap SYN scan detected"; flags:S; detection_filter: track by_src, count 5, seconds 60; sid:101; rev:1;)
Here’s the basic run down of the rule:
alert – This keyword specifies the action to be taken when the rule’s conditions are met. In this case, it means that if the conditions specified in the rule are matched, an alert will be generated.
tcp – This specifies the protocol to which the rule applies, in this case, TCP.
any any – The rule applies to any source IP address and any source port.
-> – Indicates the direction of the traffic flow.
$HOME_NET – This is a variable typically defined in the Snort configuration file. It represents the local network or networks being protected by the intrusion detection system (IDS). It could be something like 192.168.1.0/24 to represent a range of IP addresses.
any – The destination port is not specified, meaning the rule applies to any destination port.
msg:”nmap SYN scan detected” – This is a human-readable message that will be included in the alert to describe the detected activity. In this case, it indicates that the rule is triggered when an Nmap SYN scan is detected.
flags:S – This specifies the TCP flags that must be set for the rule to match. Here, S indicates that only the SYN flag must be set in the TCP header.
detection_filter – track by_src, count 5, seconds 60: This is a detection filter that helps to reduce the number of alerts generated for similar events. It tracks the number of matching events from a single source IP address (by_src) and generates an alert only if there are 5 or more matching events within a 60-second window.
sid:101 – This is the unique identifier (SID) for the rule. Each Snort rule has a unique SID to differentiate it from others.
rev:1 – This specifies the revision number of the rule. It is typically incremented when the rule is modified or updated.
Now let’s save our rule and add it to the snort.conf file.
We need to locate Step #7 where we can place our rule location. See an the example below:
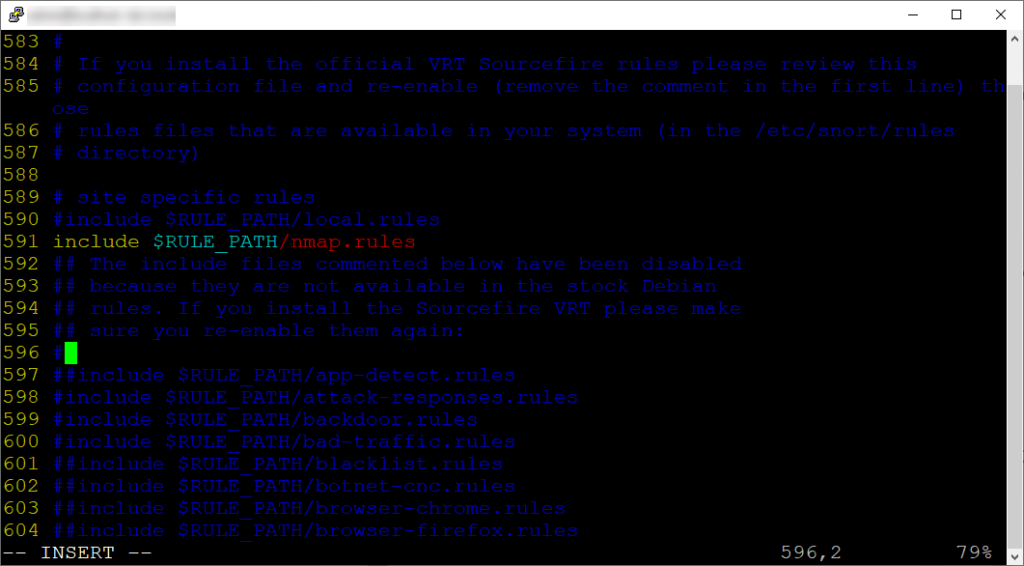
The rule must be uncommented as shown in the screenshot. Once we have the rule in the snort.conf file, we can save our changes.
Now to apply changes let’s restart snort:
sudo systemctl restart snort
sudo systemctl status snort
We can run the following command to test Snort for any issues and ensure I rule is being loaded:
sudo snort -T -c /etc/snort/snort.conf -i eth0
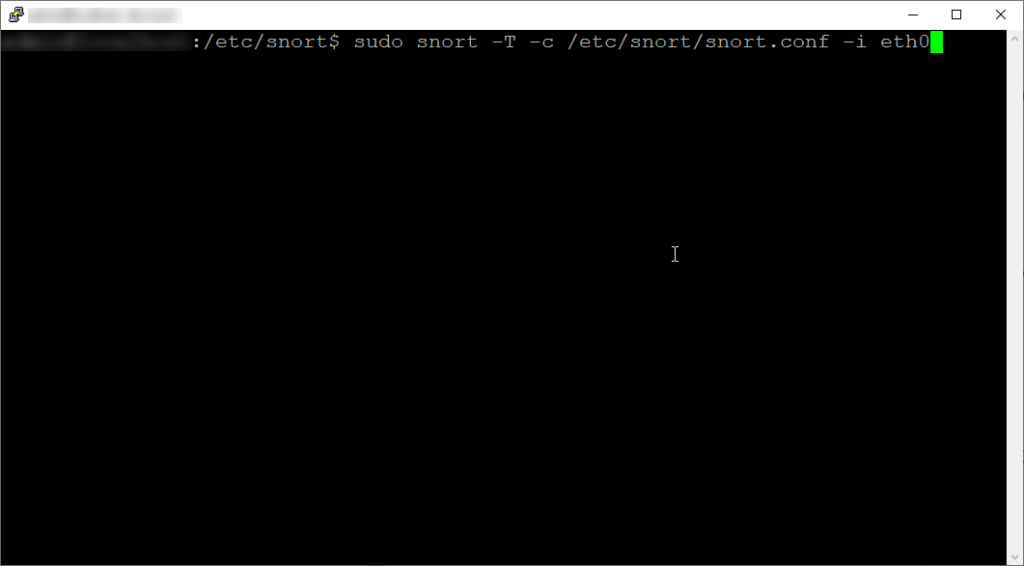
The syntax here is:
-T – is for self-test mode, checking all the supplied command line switches and rule files.
-c – is for specifying the path to a valid configuration file (snort.conf).
-i – is for specifying the interface (in my case eth0).
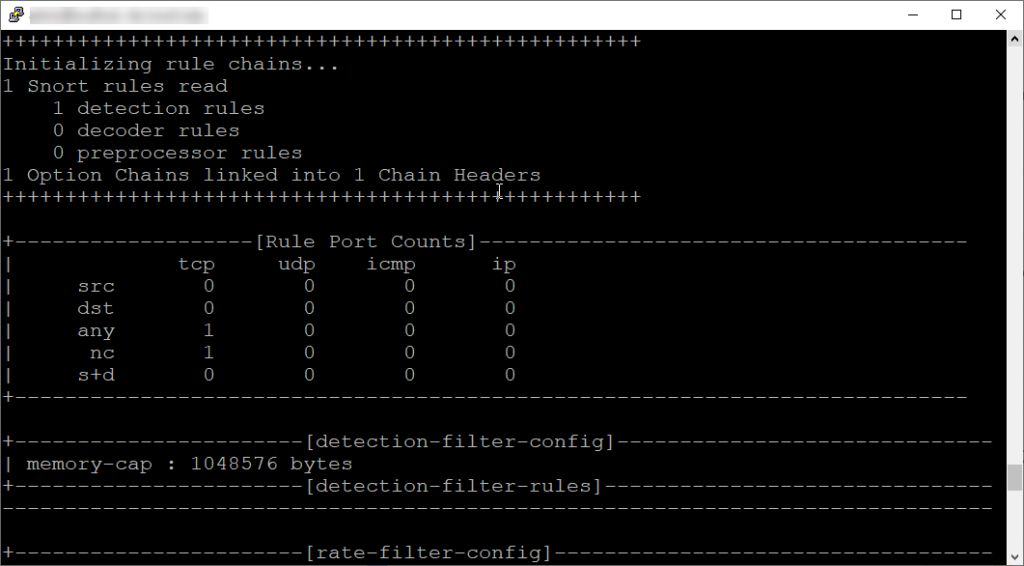
As you can see from the output, our 1 rule was detected as we commented out all the default pre-loaded rules.
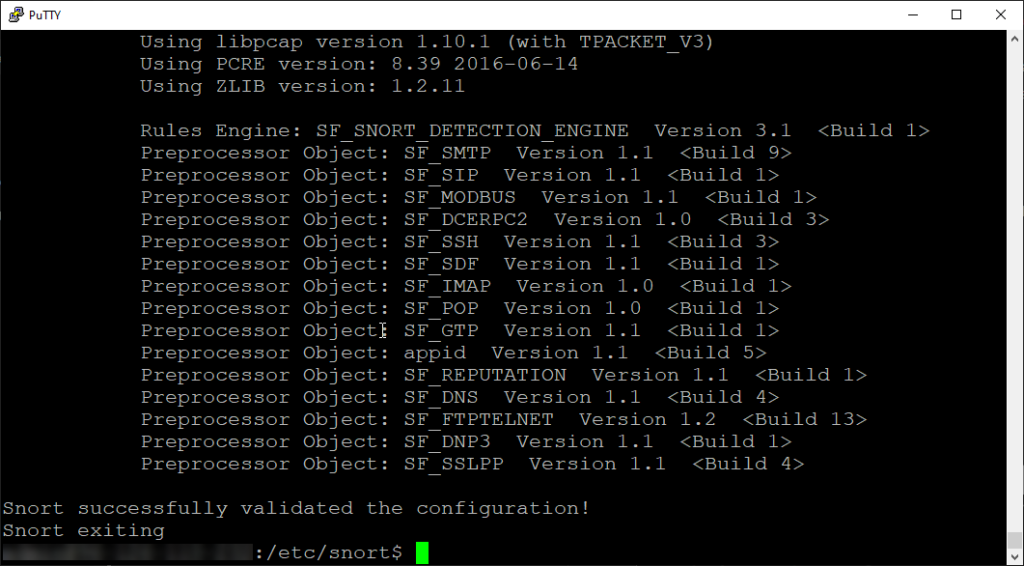
Snort successfully validated the configuration, awesome! Now let’s test to see if it works!
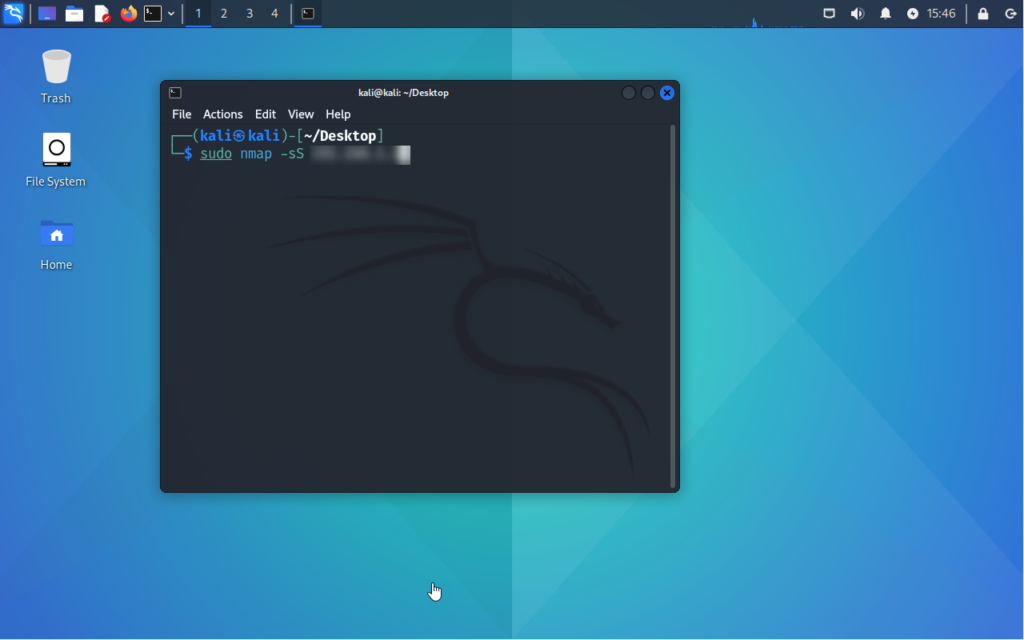
Running a quick nmap scan:
Now let’s get back on our Snort machine and check for this scan:
sudo snort -c /etc/snort/snort.conf -i eth0 -A console
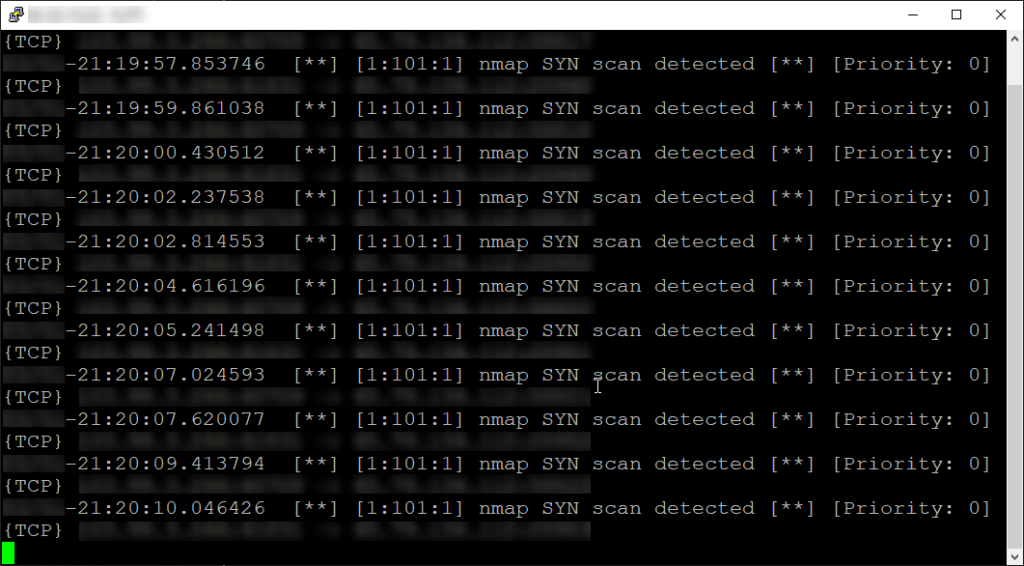
If we configured everything correctly, we should see something like so:
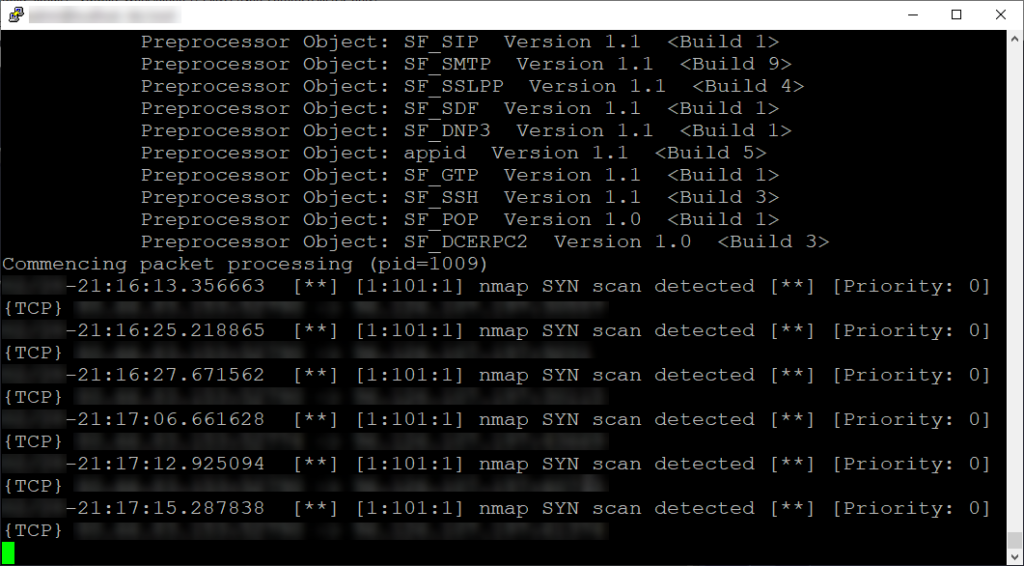
If you navigate to the snort log directory /var/log/snort, you will find a snort.alert.fast file. If you view this file you can also view the results found from the live view command mentioned above.
This is just a quick run-down of Snort’s IDS capabilities, but we will get more in depth with what it can really do in terms of its IPS abilities in the future. Until then, stay tuned!

