Welcome to my Linux Hardening Guide! Last post I went over Windows hardening, now as promised on this post I will cover Linux. I will utilize the same structure as I did in my Windows guide. Again, I won’t cover many of the Physical controls and even some Administrative controls. We are assuming some of those are in place. Here we will mainly focus on Technical controls and the many layers we can implement to reduce the attack surface of a Linux machine.
For this guide I will be using a Ubuntu 20.04 machine. You can feel free to follow along using any Linux distribution. The version release I am using here is not the latest, but it is the most recent VMware image I could find without going on the Ubuntu site, grabbing the .iso file and creating a VMware image. I don’t have Workstation Pro installed on this machine, so I can’t create VMware images from .iso files here. Now that we have the environment laid down, let’s move forward!
I’ll be including a checklist here that will focus on an overview of objectives that should be addressed. This provides a solid focus on the main areas that will vastly reduce your attack surface. Here are the categories that I will focus on (in no particular order):
- Firewall Setup
- Account Management
- Software Updates and Patch Management
- Data Encryption and File Protection
- Logging and Monitoring
- Configuring Privacy Settings
- General Configurations
Firewall Setup
Enable and Configure UFW or nftables
Set up rules to allow only trusted IP addresses, block unwanted traffic, and restrict access to essential services.
Linux has several firewall options, most notably ufw or the “Uncomplicated Firewall”, iptables and nftables (which has now replaced iptables). I won’t go deep into how to configure these, there are plenty of resources for this online. But here is a quick run through of what setting up ufw is like:
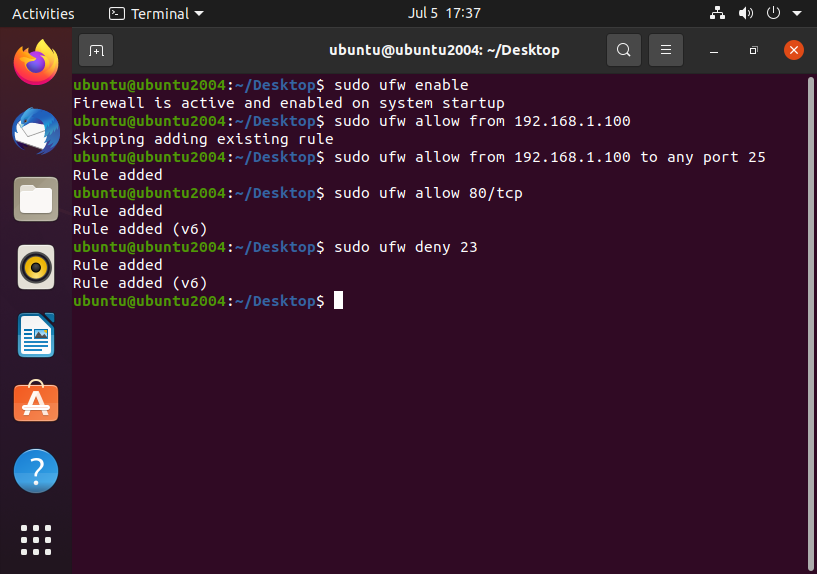
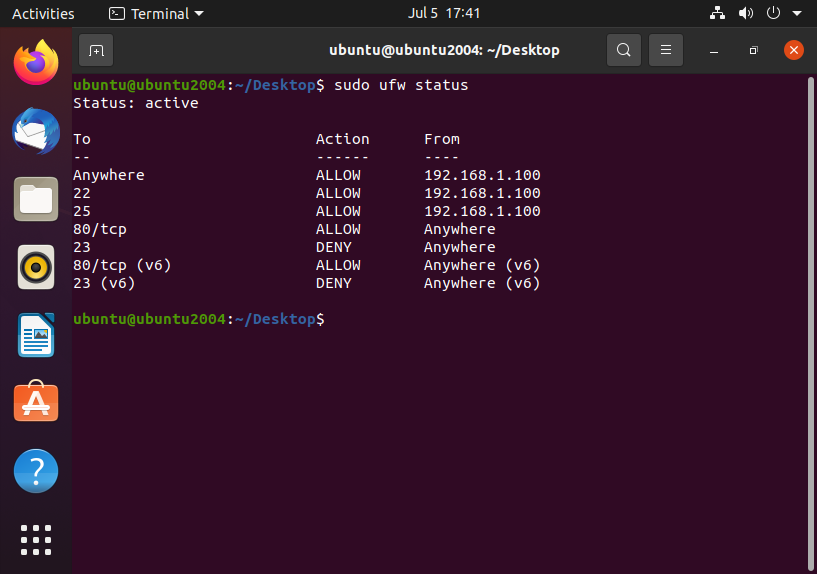
As you can see I implemented some basic rules up above. You can also view and current rules you have in place like so:
Limit SSH Access
Restrict SSH to specific IP addresses and configure it to use a non-standard port.
If you have an IP address that is static (such the case with a VPN), limiting access to a specific IP or specific ranges greatly reduces that chance of a breach via SSH. Obviously, the lesser amount of possible connections incoming, the lesser the chance that unauthorized access event can occur. If you think about it in this perspective: If a user has the credentials for an account, but are limited by IP restrictions, they simply can’t log in.
Limiting IP access via SSH using ufw would look something like this:
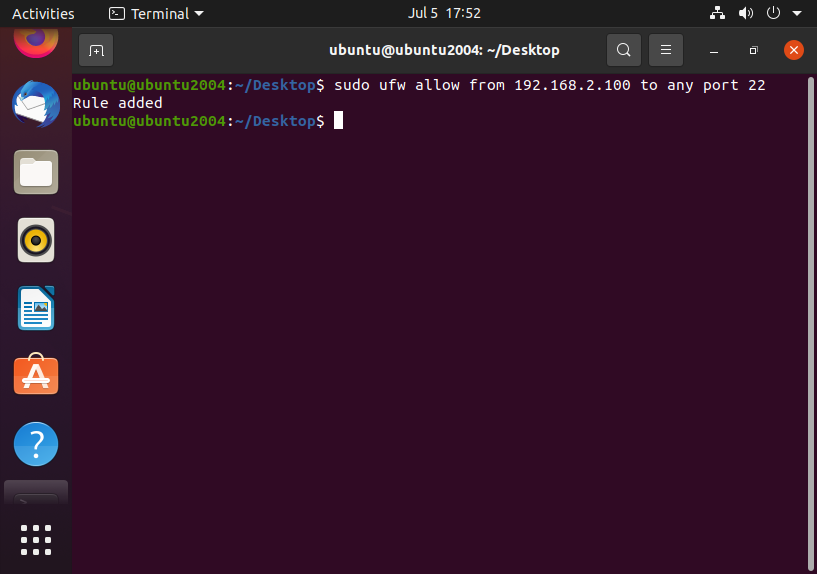
With this rule only 192.168.2.100 would be allow to SSH into the machine.
Now, configuring a non-standard port for SSH is a great practice for a few reasons. First, it vastly reduces the chances that bots will start hammering away and attempting to brute-force an SSH login. This creates less traffic and keeps logs less congested. Second, all threat actors know what port 22 is for, its no secret. If you use the default SSH port, you are opening yourself up for more unauthorized login attempts.
Disable IPv6 (if not in use)
IPv6 can open additional attack surfaces, so disable it if it’s not necessary.
If you’re not using IPv6 for your network configuration, it is important you disable it simply to reduce your attack surface. There are other reasons for this too, such as preventing misconfigurations, avoiding wasted resources (systems logs, monitoring, etc.), meeting compliance and auditing requirements and preventing unexpected traffic.
On a modern Linux machine we can do this by accomplishing the following:
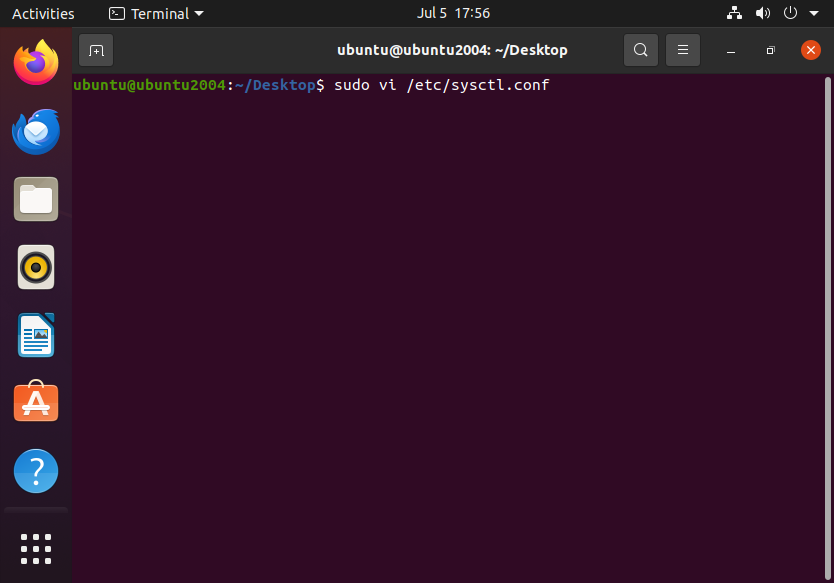
Once we open the configuration file, we need to add the following lines:
net.ipv6.conf.all.disable_ipv6 = 1
net.ipv6.conf.default.disable_ipv6 = 1
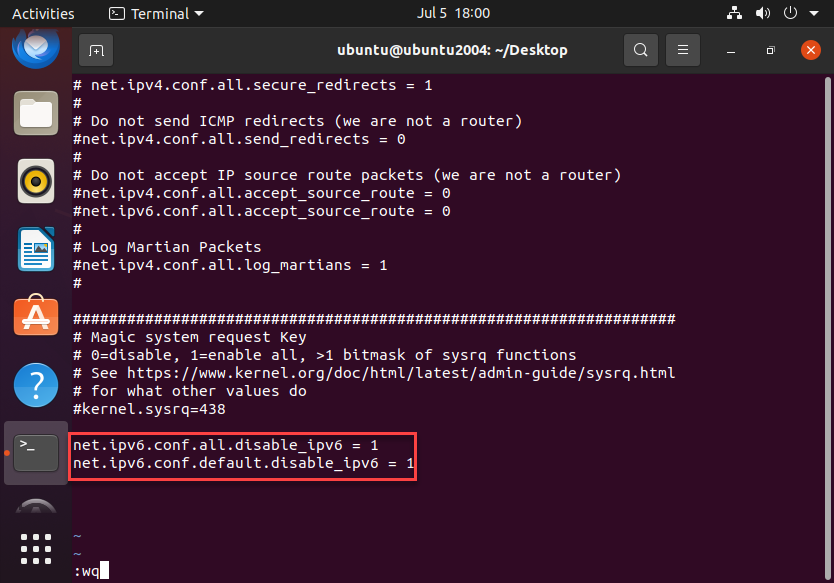
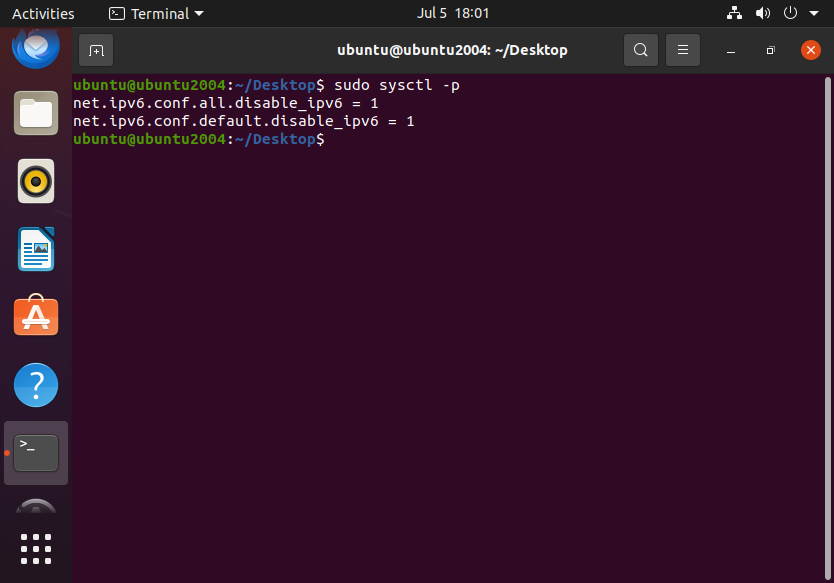
Once we save the configuration file we need to apply the system configuration changes by doing so:
Use SELinux or AppArmor
These Mandatory Access Control (MAC) systems enforce strict access rules beyond standard user permissions.
AppArmor and SELinux are Mandatory Access Control (MAC) frameworks used to enforce stricter access rules than traditional user and group permissions in Linux systems. They improve security by controlling what applications and processes can do, even if they are compromised.
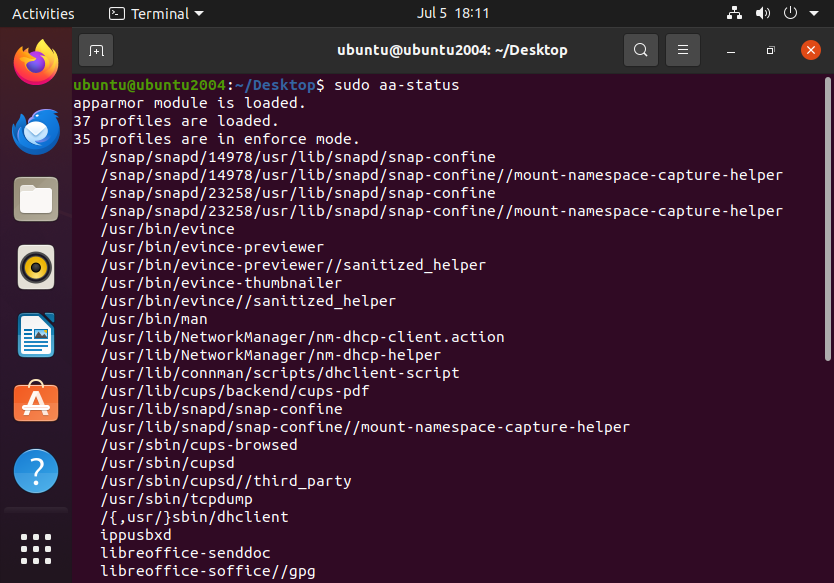
Ubuntu machines come pre-loaded with AppArmor by default as do Dedian and SUSE distirubtions. SELinux (which was created by the NSA) comes pre-loaded wtih RHEL, CentOS and Fedora distributions.
These MAC frameworks can get pretty in-depth so I won’t go deeply into it here. Here’s what an AppArmor enabled system looks like:
Rate Limit Connections
Use rate limiting to prevent brute-force attacks by limiting the number of connection attempts
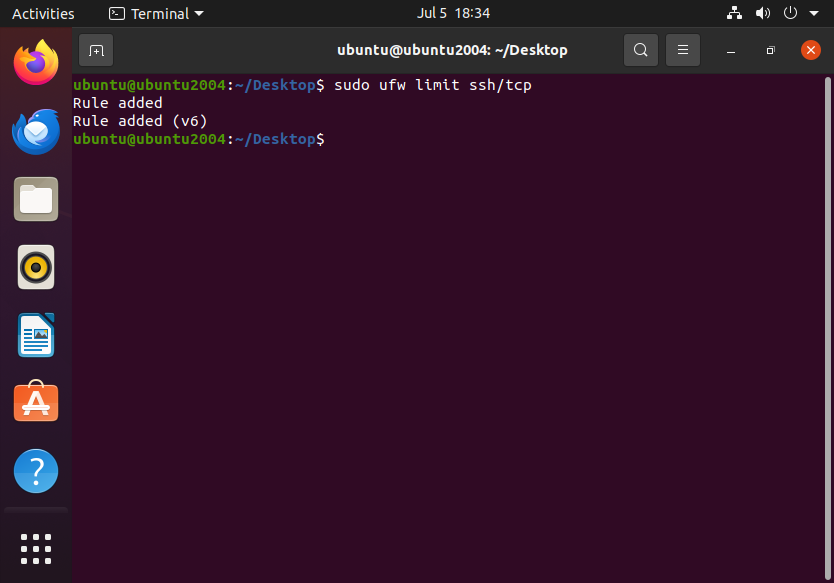
Rate limiting is an effective way to prevent brute-force attacks by restricting the number of connection attempts to a service (e.g., SSH) within a specific timeframe. This can be done using tools such as ufw, nftables or Fail2Ban.
Here’s an example of such practice using ufw:
sudo ufw limit ssh/tcp
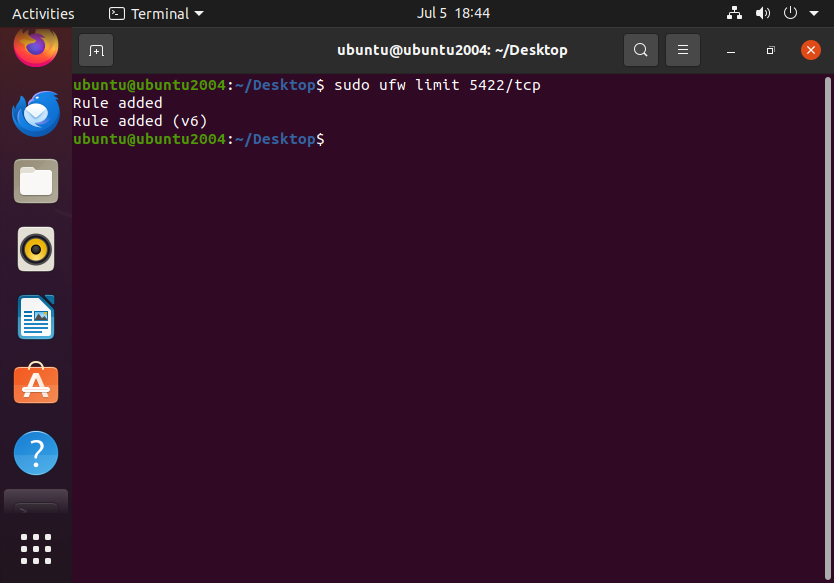
If using a custom port (5422 in this example):
sudo ufw limit 5422/tcp
Use Fail2Ban or DenyHosts
Automatically block IPs that show malicious signs (e.g., too many failed SSH attempts)
Take a look at my post on Using Fail2Ban to Manage Brute Force Attacks for a in-depth look on how to setup Fail2Ban.
Account Management
Implement Least Privilege
Ensure users have only the permissions they need by using groups and limiting sudo access
This is a very important concept across all systems, not just Linux. It is vital that users are only given access to system that are essential to the functions of their role, nothing more. This means creating the appropriate groups with the necessary permissions, limiting sudo access and setting the proper file and directory permissions.
Enforce Strong Password Policies
Use PAM to enforce password complexity, length, expiration, and reuse rules
To enforce strong password policies on a Linux system, you can use PAM (Pluggable Authentication Module) to set rules for password complexity, length, expiration, and reuse.
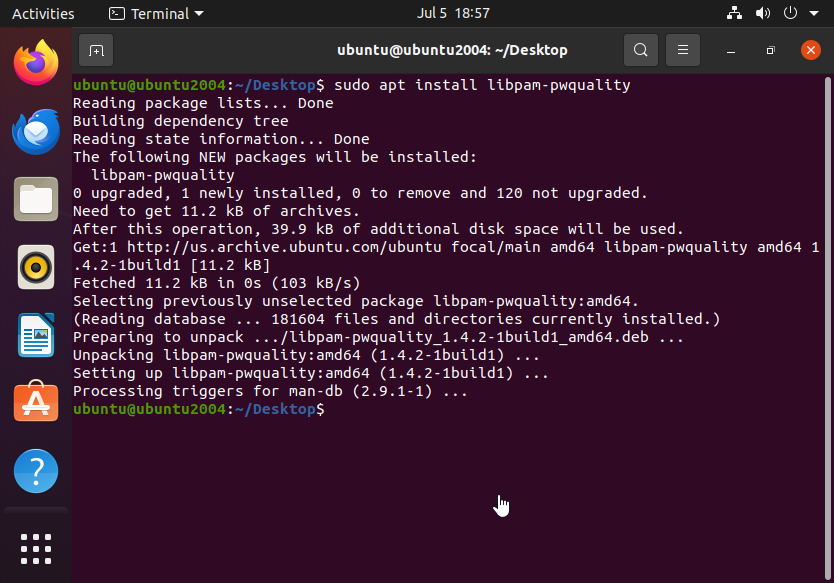
First, we must install the necessary modules such as pam_pwquality:
sudo apt install libpam-pwquality
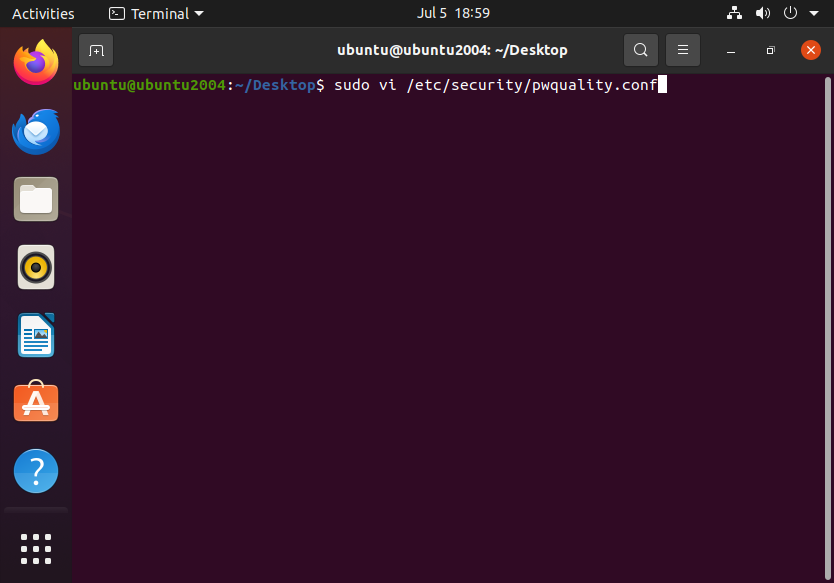
Now lets locate the configuration file:
sudo vi/etc/security/pwquality.conf
Here’s a look at the configuration file:
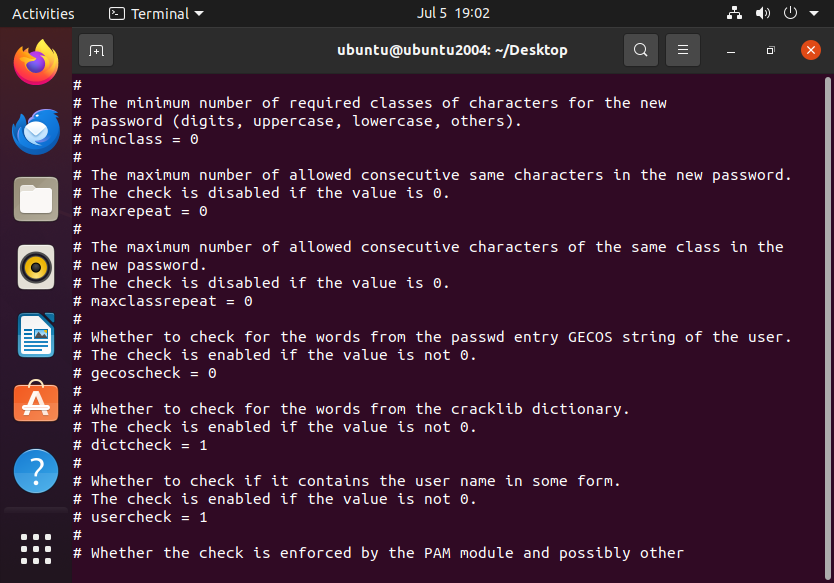
You can modify fields such as:
minlen = 12                  # Minimum password length
minclass = 3               # Require at least 3 character classes (lowercase, uppercase, digits, special characters)
retry = 3                        # Allow 3 retries before rejecting
dictcheck = 1             # Reject passwords matching dictionary words
We can also enforce password history like so:
sudo vi /etc/pam.d/common-password
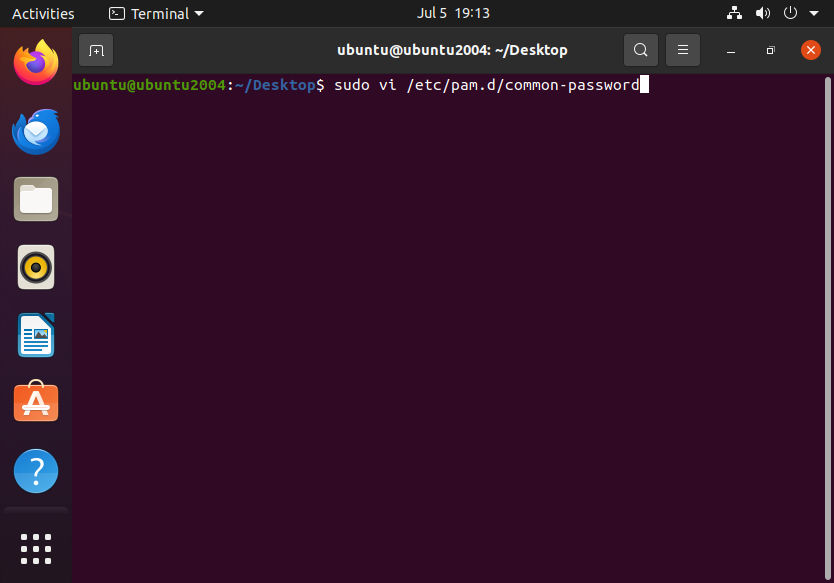
Then we can edit the pam_unix line like so:
password requisite pam_pwhistory.so use_authtok remember=5 enforce_for_root
This will remember the last 5 used passwords and prevent reuse.
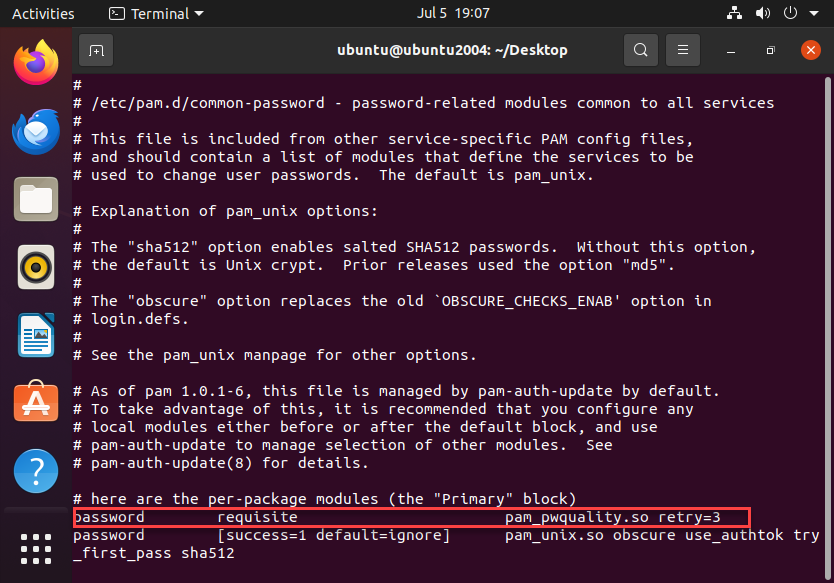
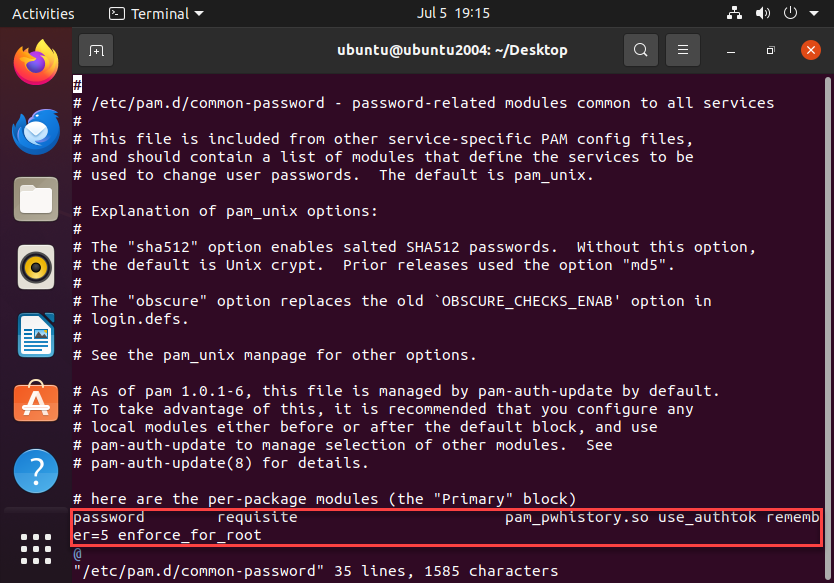
Now we can move on to setting password expiration rules:
sudo vi /etc/login.defs
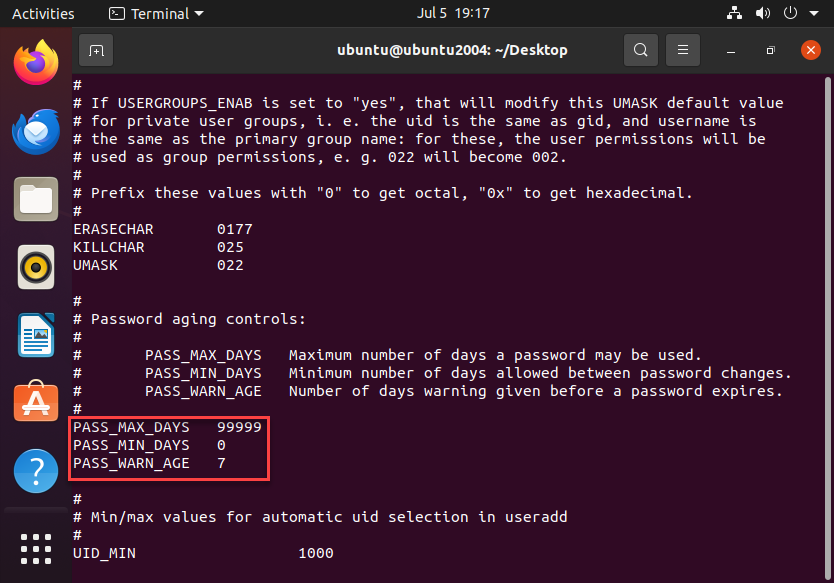
PASS_MAX_DAYS   99999    # Maximum days a password is valid
PASS_MIN_DAYS   0        # Minimum days before a password can be changed
PASS_WARN_AGE   7   # Warn users 14 days before password expiration
These are where default policies are configured for new users. You can alter an individual user’s expiration parameters like so:
sudo chage --maxdays 90 --mindays 7 --warndays 14 ubuntu
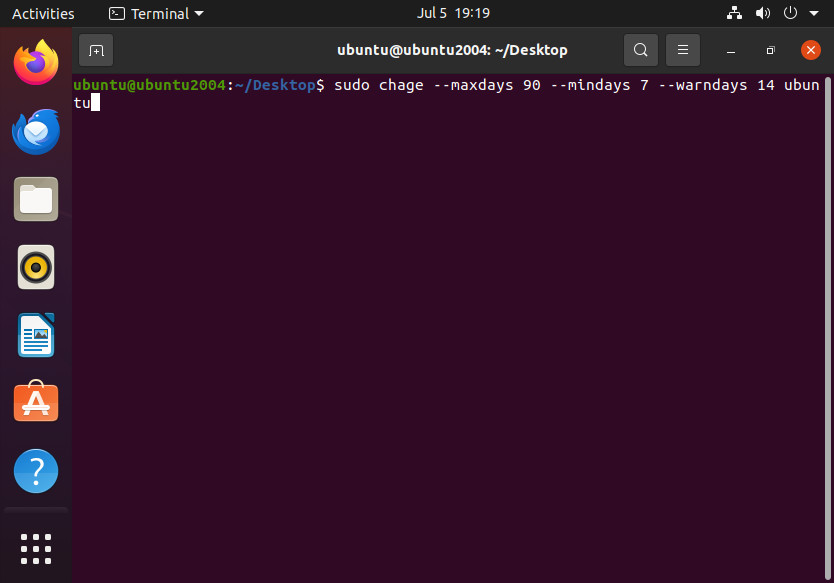
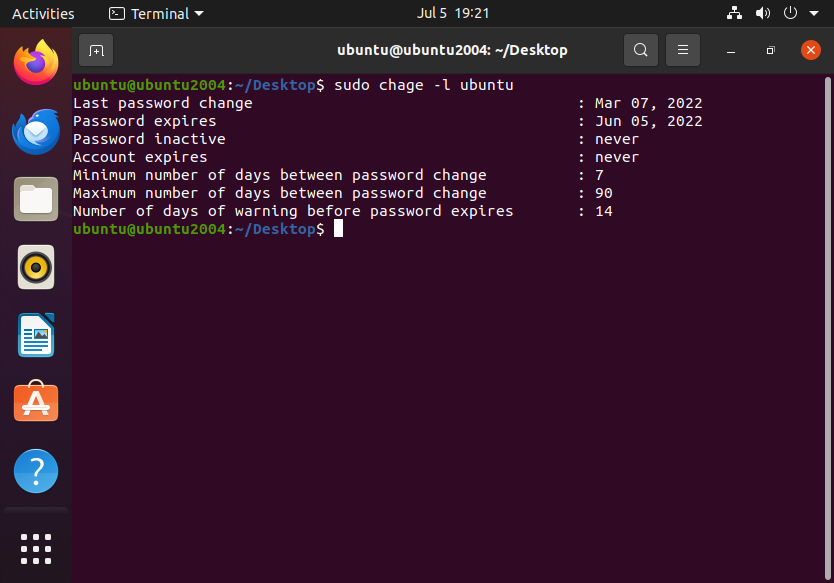
Now we can confirm these took effect:
sudo chage -l ubuntu
Disable Root Login for SSH
Configure SSH to disallow root login to prevent unauthorized users from accessing the root account limit shh to IP (if possible)
First we need to edit the sshd_config file:
sudo vi /etc/ssh/sshd_config
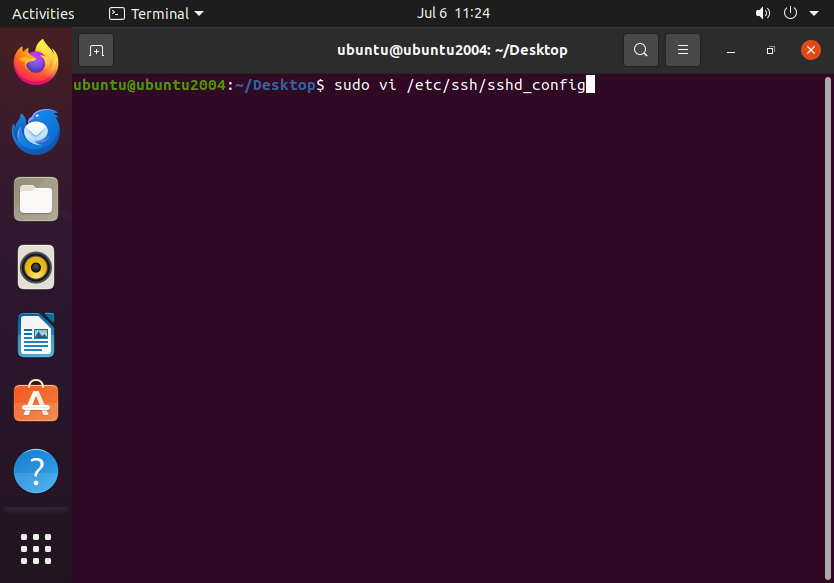
Now we need to modify the “PermitRootLogin” line:
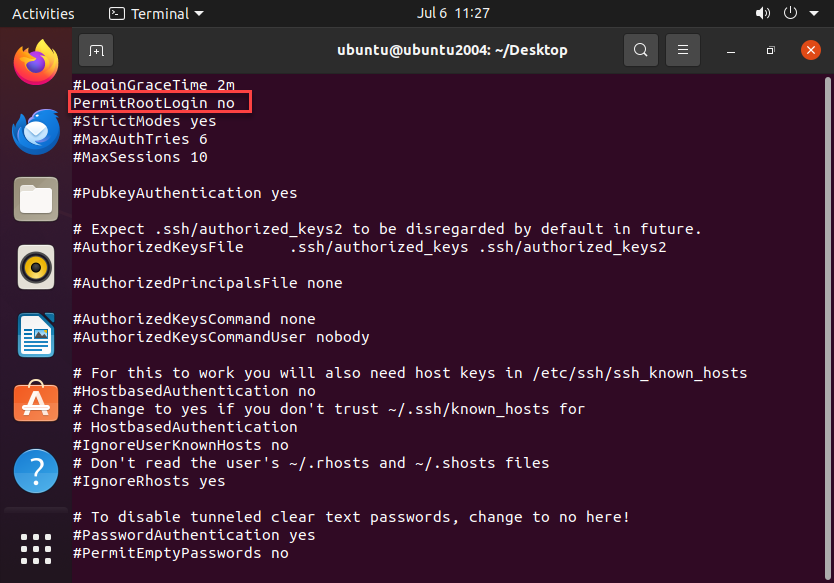
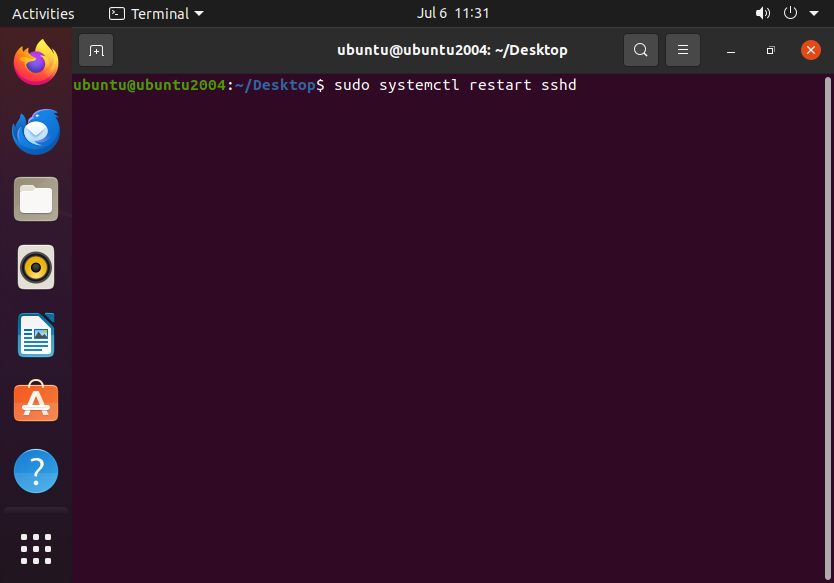
Once we save or changes to the config file, we must restart the sshd service:
sudo systemctl restart sshd
To limit access from a specific IP address, see the section above regarding Firewalls.
Use SSH Key Authentication
Require public key authentication for SSH, and disable password-based logins
Disabling password-based logins simplify the log in process whilst eliminating brute force attacks on passwords.
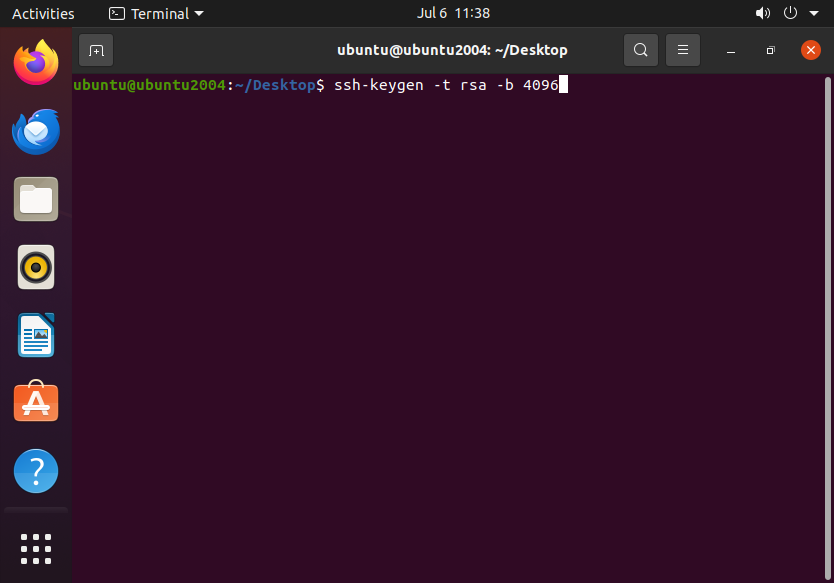
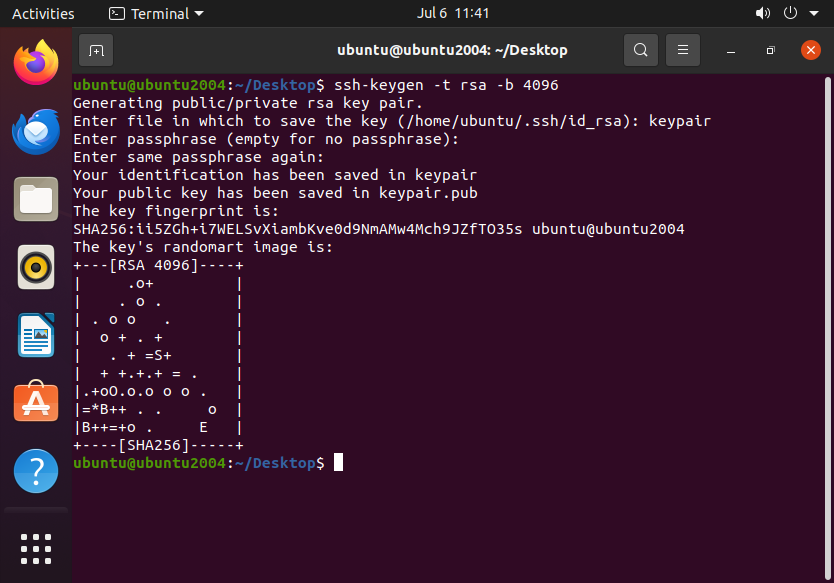
First, we need to generate our public and private keys:
ssh-keygen -t rsa -b 4096
Now save the file:
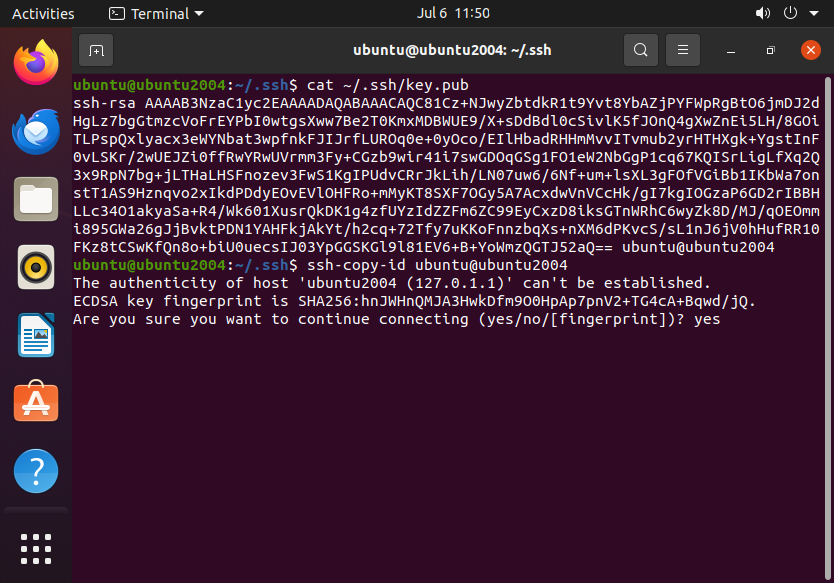
Next, we copy over the the public key to the server:
ssh-copy-id ubuntu@ubuntu2004
To disable password-based logins we must edit the sshd_config file again:
sudo vi /etc/ssh/sshd_config
Modify the value for “PasswordAuthentication” like so:
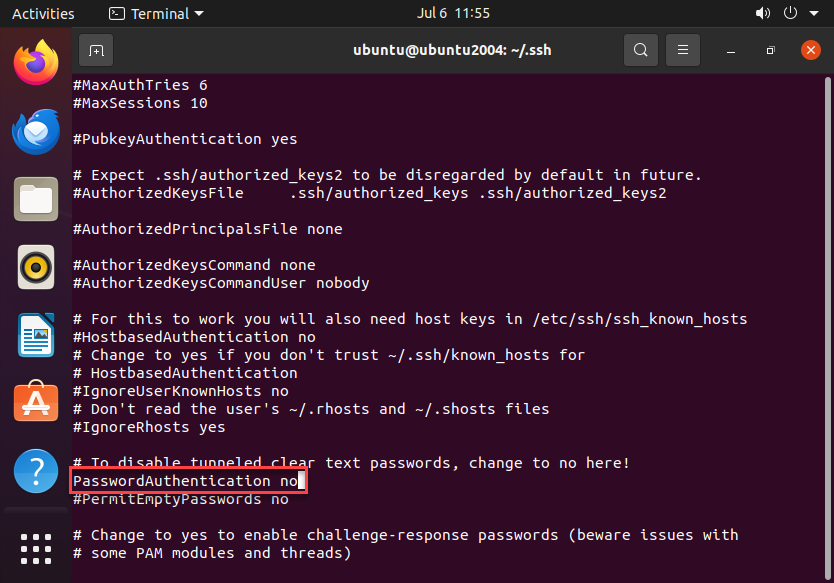
Again we must restart the sshd service:
sudo systemctl restart sshd
Audit User Accounts Regularly
Regularly review active accounts and remove any unused or obsolete accounts
It’s important to know what Users are in your environment. The /etc/passwd directory contains all User accounts on the system.
You can filter to list UIDs below 1000, which are generally system User accounts:
awk -F: '$3 >= 1000 {print $1}' /etc/passwd
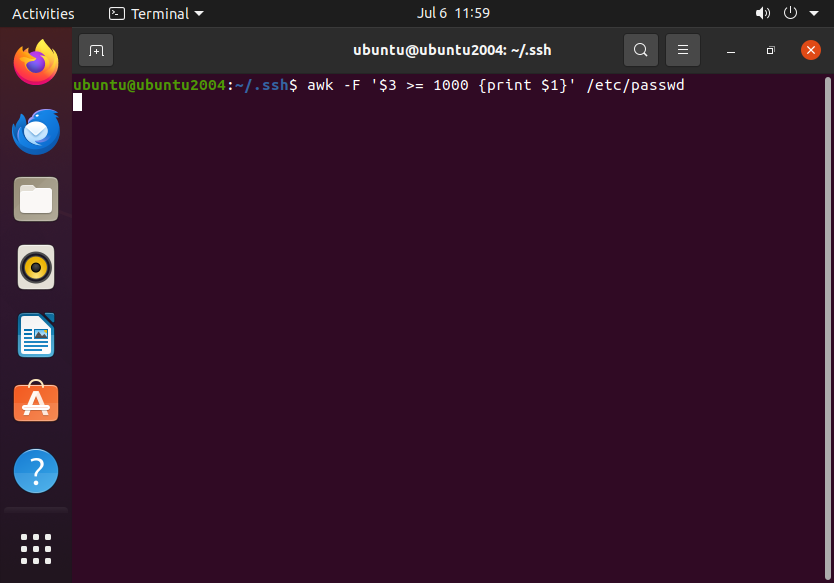
You can use both the “last” and “lastlog” commands to see previous User activity. Using the “who” command displays any Users that are currently logged in to the system.
Furthermore, its important to verify password policies by using a command like so:
sudo chage -l ubuntu
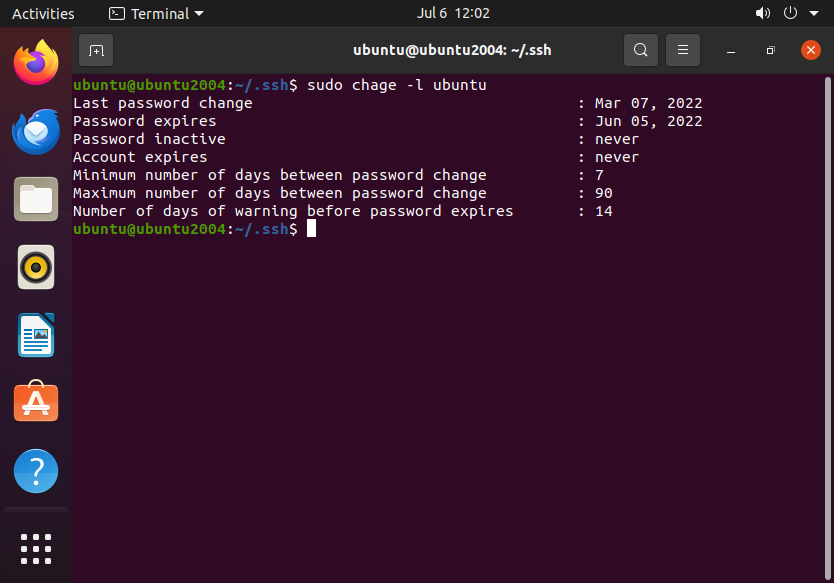
Disabling, unlocking or removing User accounts may be required at times. See below for some information on utilizing the “usermod” command:
sudo usermod -L ubuntu #Locks account
sudo usermod -U ubuntu #Unlocks account
sudo userdel -r ubuntu #Deletes account
The last command I wanted to cover in this section is the command to audit dormant accounts. It’s important you remove any accounts that aren’t actively used to reduce your attack surface:
sudo find /home -maxdepth 1 -type d -mtime +90
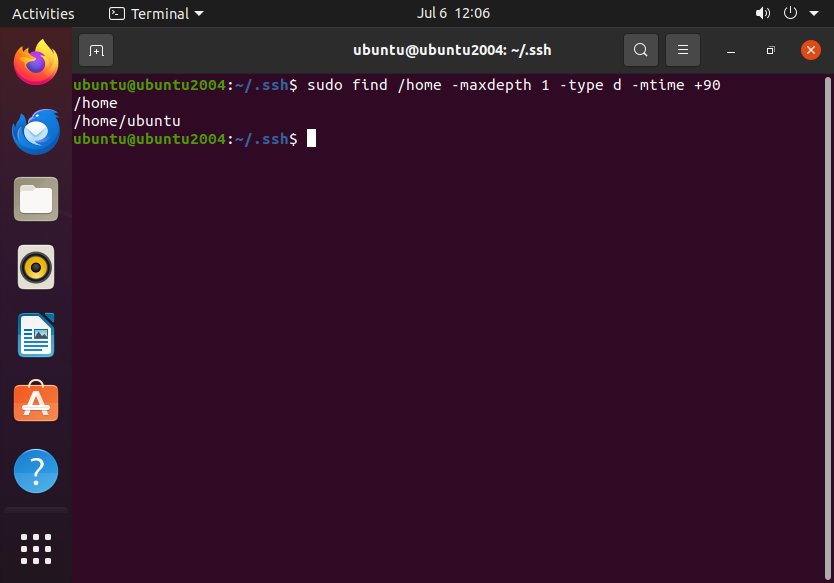
This command will check for home directories that haven’t been modified in the last 90 days, which is a great way to identify dormant accounts.
Software Updates and Patch Management
Enable Automatic Security Updates
Set up automatic updates to keep your system patched for critical vulnerabilities
This specific section is distribution dependent, so the commands may vary. I will be using commands specific to the Debian/Ubuntu environment.
Lets begin by setting up unattended upgrades:
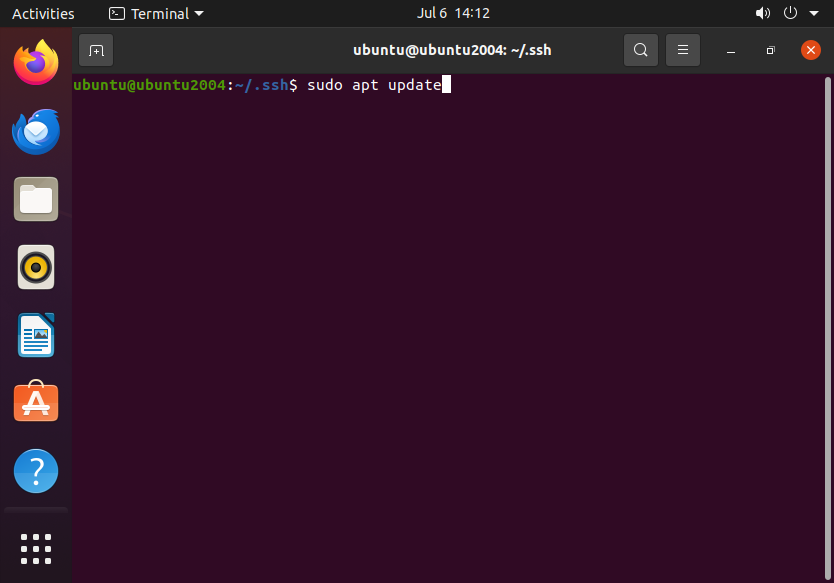
sudo apt update
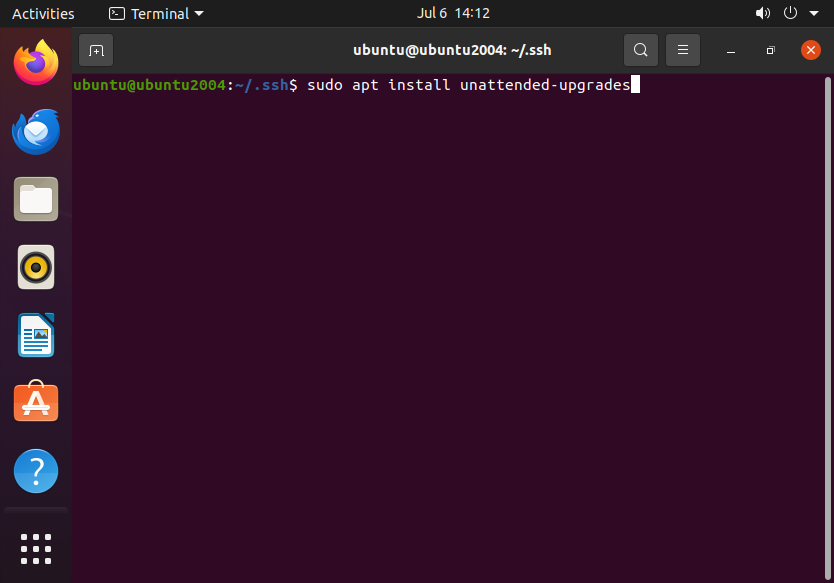
sudo apt install unattended-upgrades
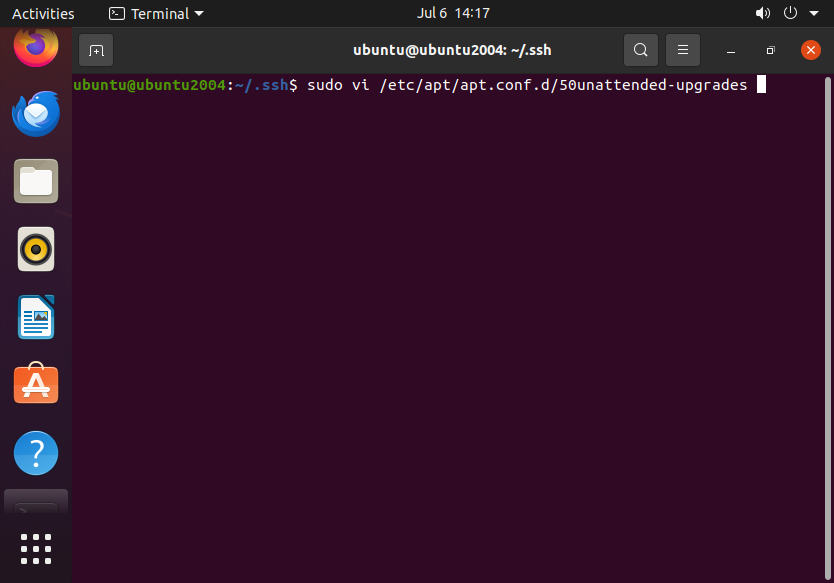
Now let’s edit the configuration file associated with the “unattended-upgrades” package:
sudo nano /etc/apt/apt.conf.d/50unattended-upgrades
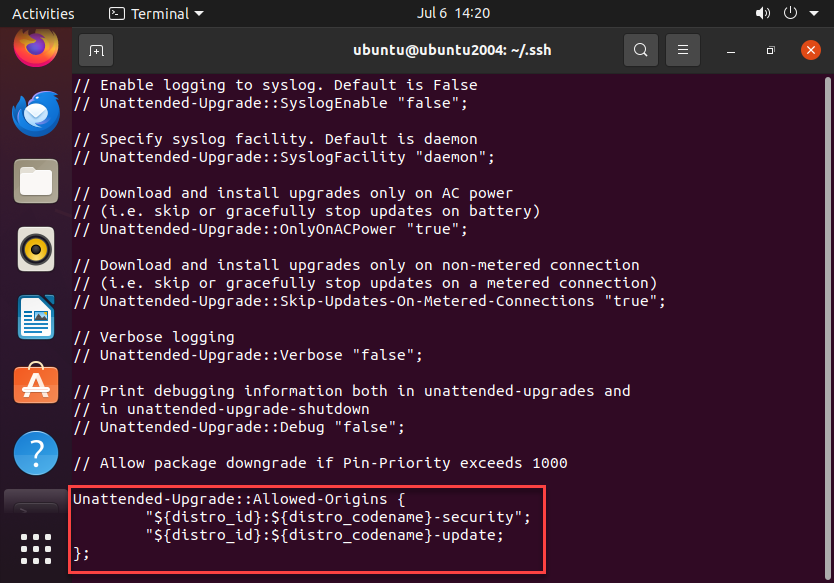
Ensure the following lines are enabled (uncommented) to allow security updates:
Unattended-Upgrade::Allowed-Origins {
    "${distro_id}:${distro_codename}-security";
    "${distro_id}:${distro_codename}-updates";
};
Now that we have the configuration file set, we need to enable unattended upgrades:
sudo dpkg-reconfigure --priority=low unattended-upgrades
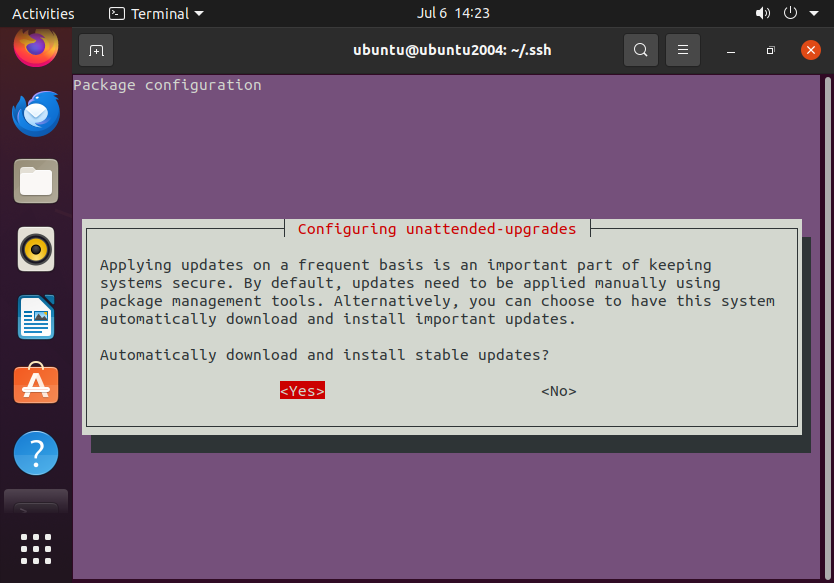
Once prompted, select “Yes”.
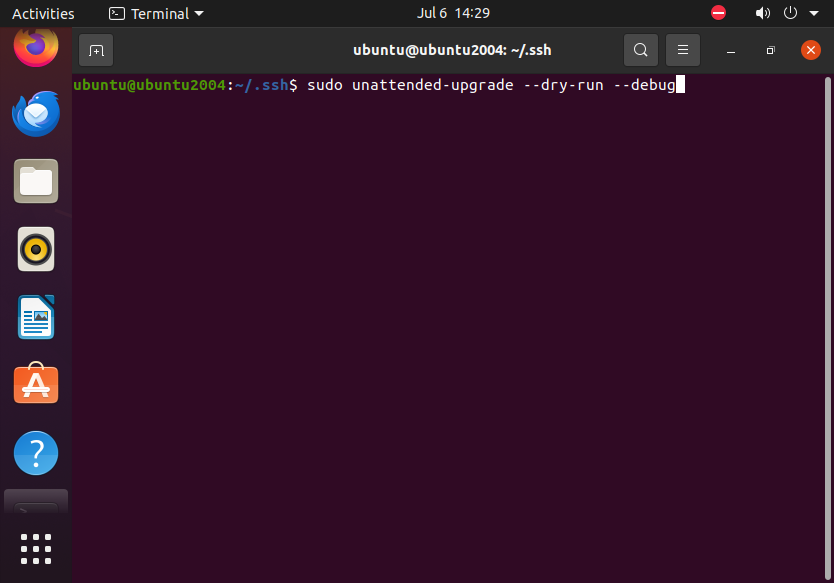
Finally, we need to test the changes:
sudo unattended-upgrade --dry-run --debug
Use Package Manager Security
Regularly update packages through apt, yum, or dnf, depending on your distribution
This is pretty straightforward, stay on top of updates and remove applications that you no longer use.
sudo apt update #Updates the package list
sudo apt upgrade #Upgrades installed packages
sudo apt full-upgrade #Performs a complete upgrade, including kernel and dependencies
sudo apt autoremove #Removes unused packages
Audit Installed Software
Regularly review installed packages and remove any unnecessary or deprecated software
Regularly auditing installed software is essential for maintaining security, system performance, and compliance. Unnecessary or deprecated software can introduce vulnerabilities or consume resources. Here’s how to audit and clean up installed packages based on your distribution:
dpkg --get-selections #Lists installed packages
apt list --installed #Filter by manually installed packages
sudo apt autoremove --dry-run #Lists unused dependencies
sudo apt remove <package_name> #Removes a specific package
sudo apt purge <package_name> #Removes a specific package and configuration files
dpkg --get-selections > installed_packages.txt #Exports package list into a text file for inventory control
Check for Unofficial Repositories
Avoid using unofficial repositories, as they may introduce unverified or outdated software
List Configured Repositories: Repositories are listed in /etc/apt/sources.list and /etc/apt/sources.list.d/. Use these commands to display them:
cat /etc/apt/sources.list
ls /etc/apt/sources.list.d/
Check the configured repositories and confirm standard and official URLs, for exaple:
http://archive.ubuntu.com/ubuntu/
http://security.ubuntu.com/ubuntu/
Next we must verify GPG keys by listed them via the following command:
apt-key list
Look for keys you don’t recognize or that are expired.
Enable Kernel Live Patching (if available)
Use live patching services to apply kernel patches without rebooting (e.g., Canonical Livepatch for Ubuntu)
Since we are on Ubuntu for this guide, I will quickly for through the Livepatch client install and operation.
sudo apt install snapd
Next we will enter the following command to install the client:
sudo snap install canonical-livepatch
Once the client is installed, you need to create a Ubuntu One account at Ubuntu Livepatch.
Once you create an account you must register your system and obtain the Livepatch token. Then you must use the token to enable the service:
sudo canonical-livepatch enable <your-token>
Then you can check that Livepatch is enabled:
canonical-livepatch status
Data Encryption and File Protection
Encrypt Disk Partitions with LUKS
Encrypt sensitive partitions like /home or /data to protect data in case of physical theft
LUKS is basically the BitLocker for Linux. Let’s take a quick look on how to set this up.
First we must list the available disks and partitions:
sudo lsblk
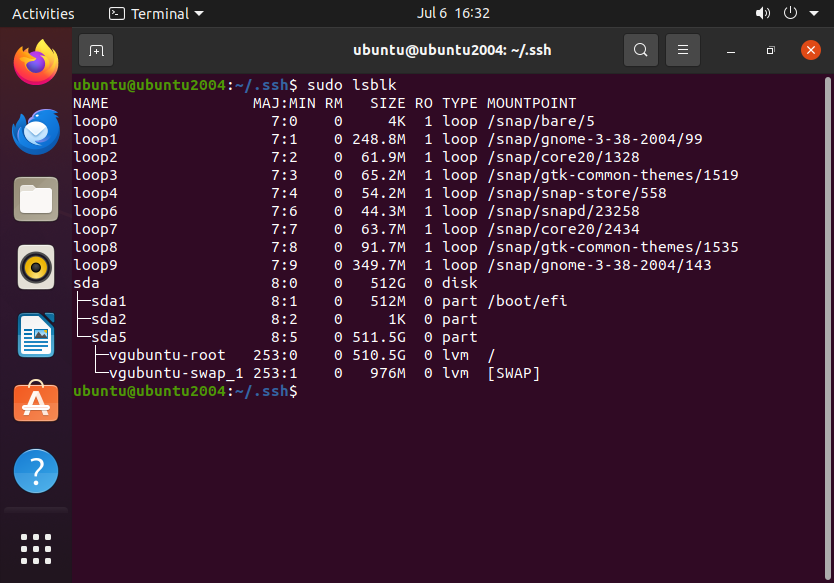
From here you need to identify which partition you want to encrypt. First you must unmount the partition like so:
sudo umount /dev/sda1
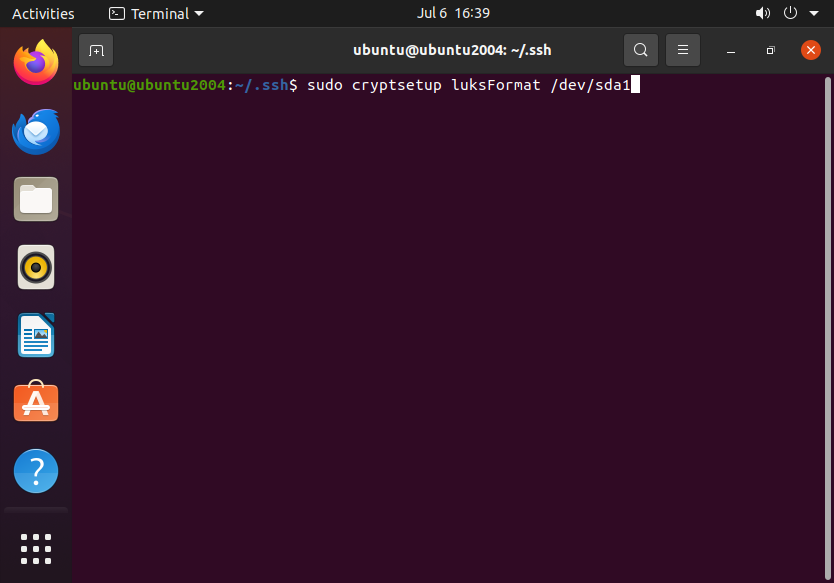
Now that we have the partition unmounted, we can proceed with initializing LUKS on the partition:
sudo cryptsetup luksFormat /dev/sda1
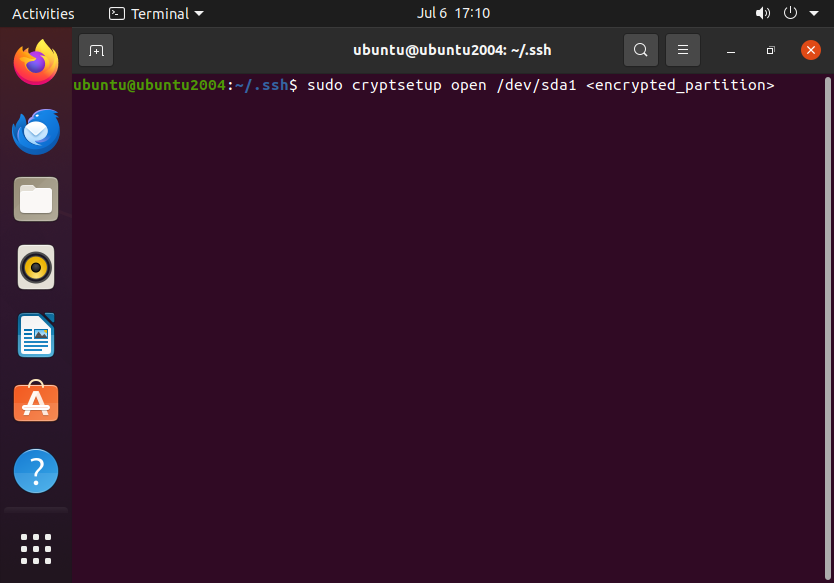
Opening the encrypted partition:
sudo cryptsetup open /dev/sda1 <encrypted_partition>
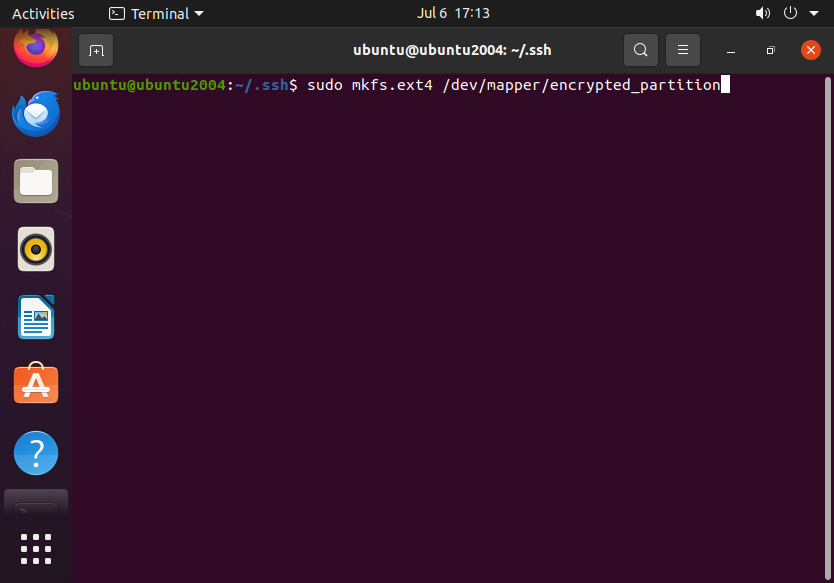
Now we can format a filesystem for the encrypted partition:
sudo mkfs.ext4 /dev/mapper/encrypted_partition
Next we have to create a mount point (data in this case) and mount the new encrypted partition:
sudo mkdir /data

sudo mount /dev/mapper/encrypted_partition /data
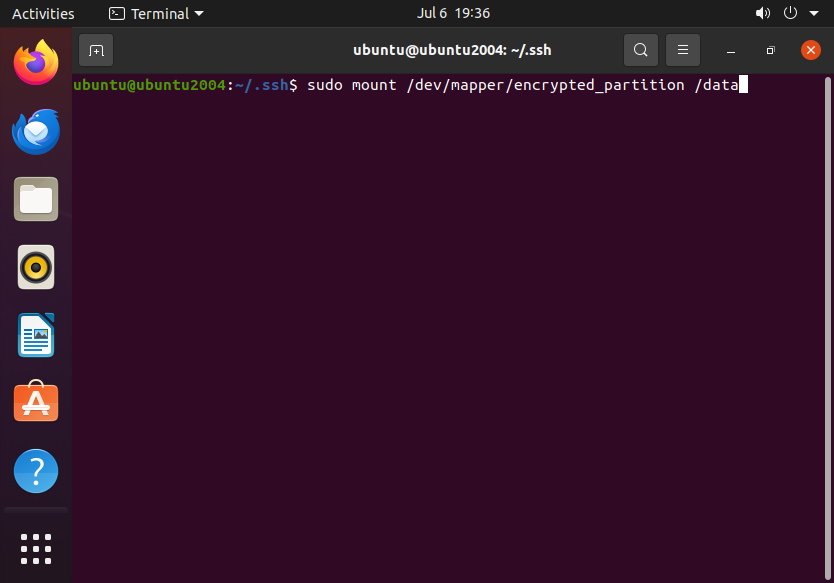
Finally we can verify the mount:
df -h
Use GPG for File Encryption
Encrypt sensitive files individually using GPG to provide additional security for specific data
Using GPG (GNU Privacy Guard), you can encrypt sensitive files individually to enhance their security. GPG provides robust encryption methods and is widely used for secure file handling.
Here’s how to encrypt files with GPG:
gpg --symmetric --cipher-algo AES256 sensitive_file.txt
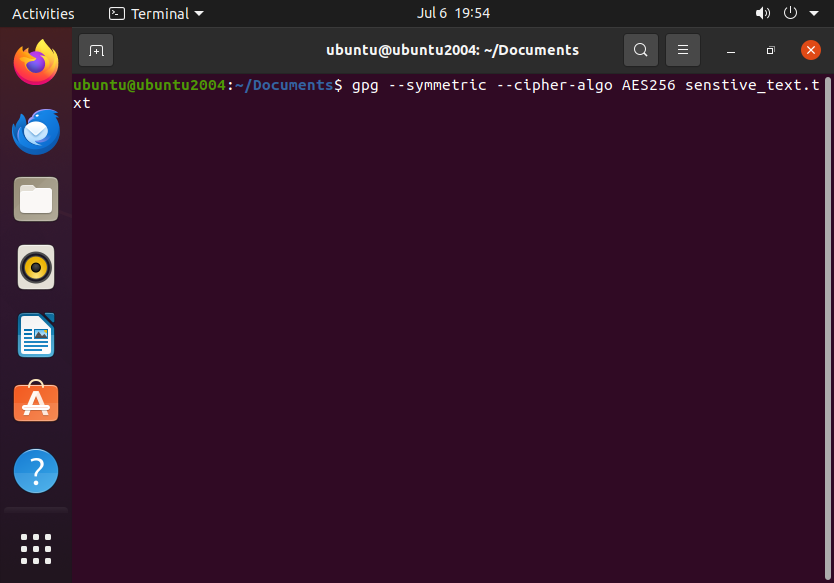
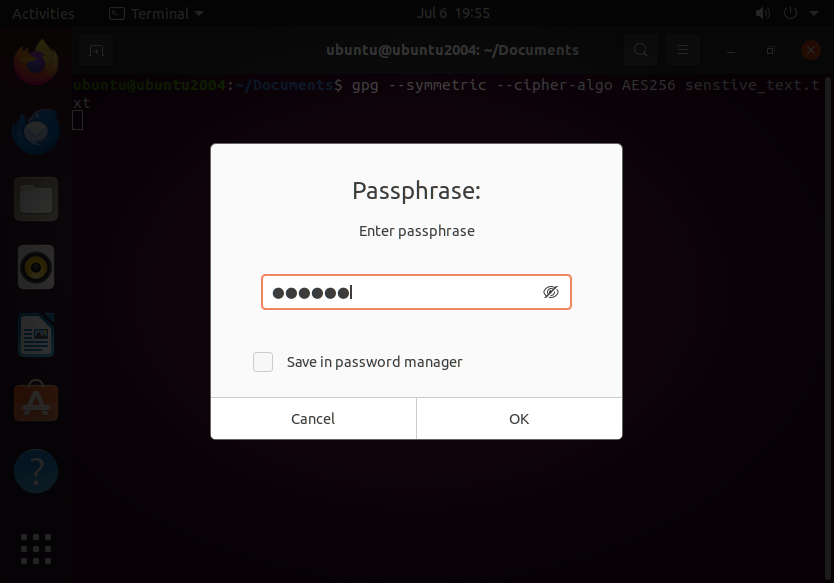
You’ll be prompted to enter a passphrase and confirm it.
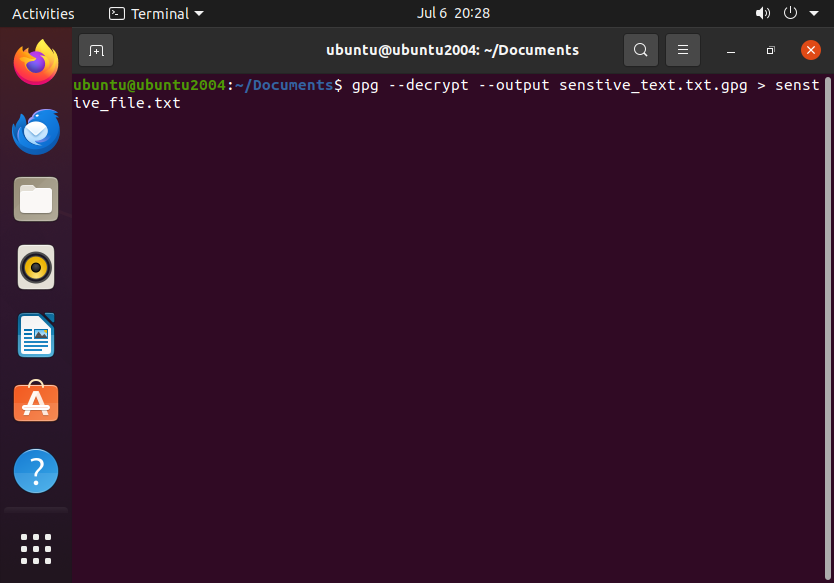
To decrypt the file the process is similar, but the command is slightly different:
gpg --decrypt --output sensitive_file.txt.gpg > sensitive_file.txt
Enable SSH Host Key Verification
Verify SSH keys for secure connections, especially when transferring sensitive data
Enabling SSH host key verification is a crucial security measure to ensure you’re connecting to the correct server and not a malicious one. SSH host key verification works by comparing the server’s host key to a known key stored on your system, preventing man-in-the-middle (MITM) attacks.
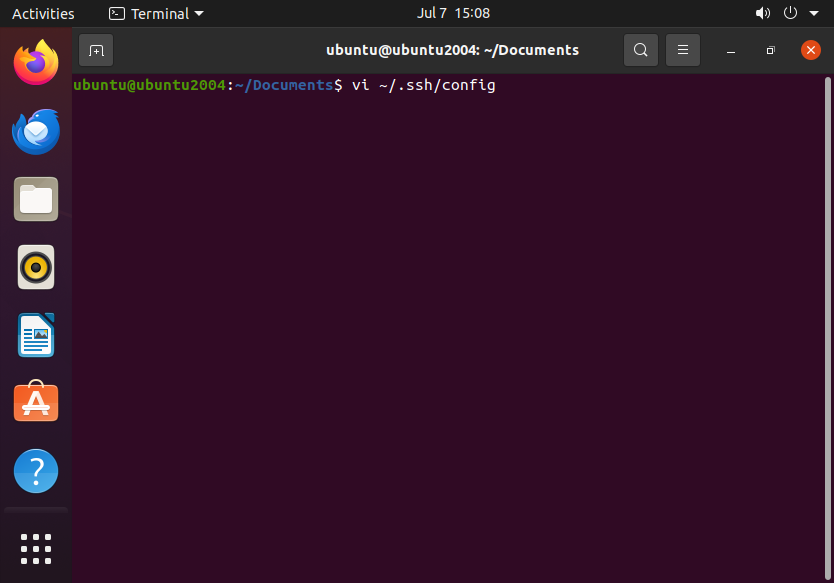
First, we must open the SSH client configuration file:
vi ~/.ssh/config
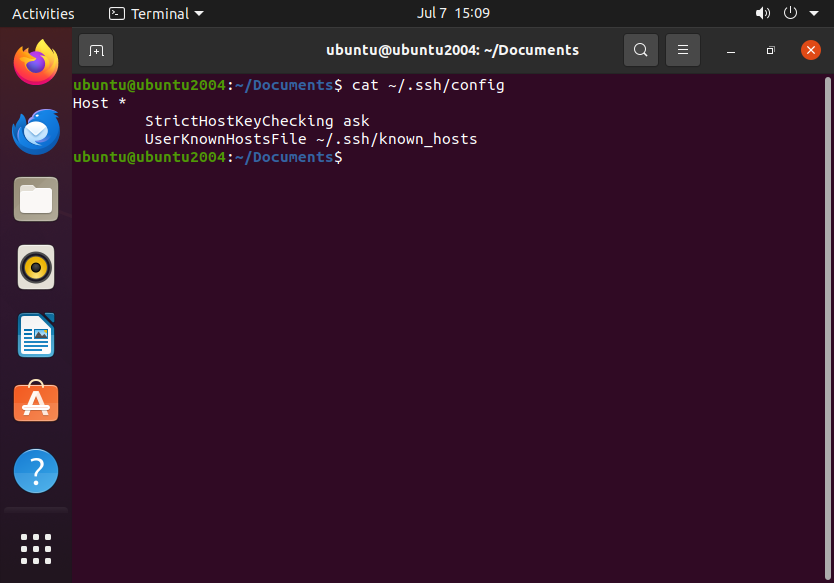
If the file does not exist, you must create it and add the following lines:
Host *
    StrictHostKeyChecking ask
    UserKnownHostsFile ~/.ssh/known_hosts
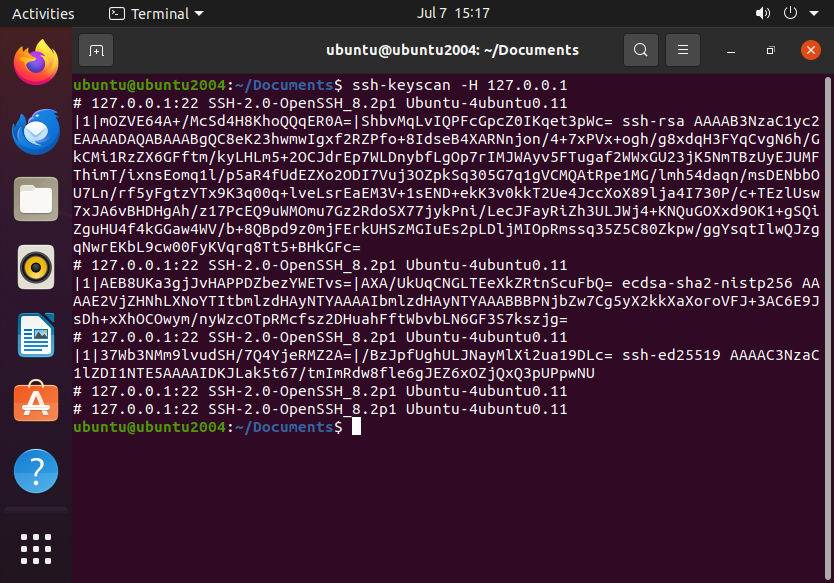
You can verify the server’s host key by displaying it via the following command:
ssh-keyscan -H <server_ip>
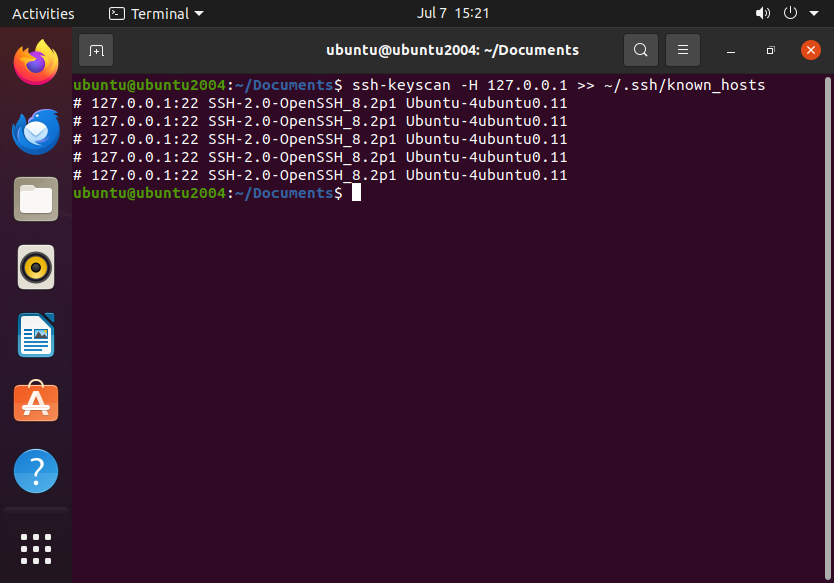
You can then add the key manually to ~/.ssh/known_hosts:
ssh-keyscan -H <server_ip> >> ~/.ssh/known_hosts
Apply Correct File Permissions
Regularly reviewing and setting appropriate file permissions ensures that only authorized users can access sensitive files, reducing the risk of unauthorized access or data leaks. It’s important to be aware and set the appropriate permissions for files and directories.
Secure Backups
Encrypt backups and store them in secure locations to prevent unauthorized access
Use LUKS, OpenSSL or GPG for backup encryption. See the section above for Data Encryption.
Logging and Monitoring
Centralize Logs with rsyslog or syslog-ng
Configure centralized logging for easier review and storage.
Centralized logging is crucial because it consolidates logs from multiple systems into a single location, making it easier to monitor, analyze, and troubleshoot issues across an environment. It also enhances security and compliance by ensuring logs are stored securely and are readily available for audits or incident response.
I’ll quickly cover the basics of setting up centralized logging using rsyslog:
First, we need to install rsyslog:
sudo apt install rsyslog
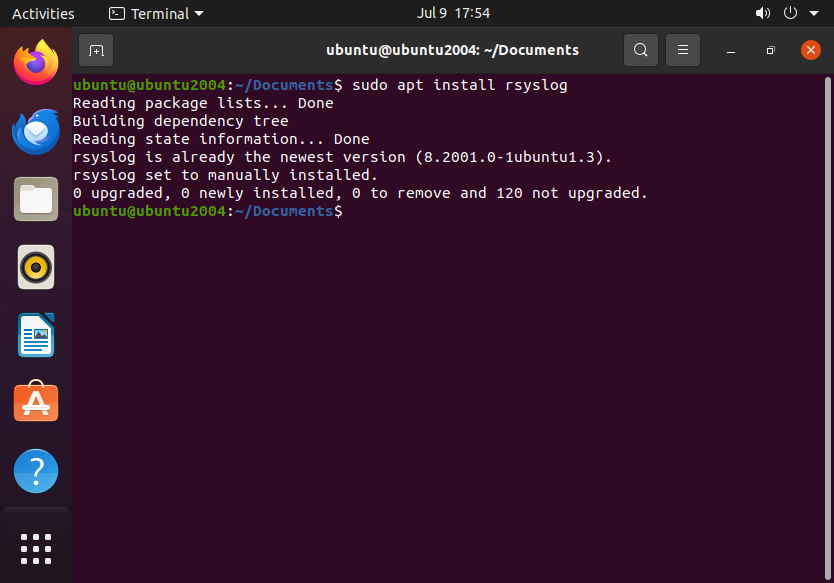
Once installed, let’s make some changes to enable a TCP connection:
sudo vi /etc/rsyslog.conf
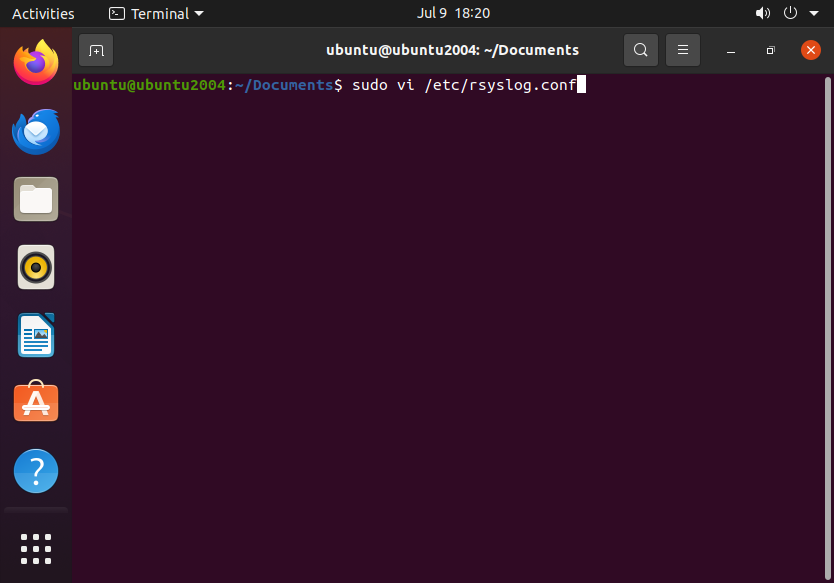
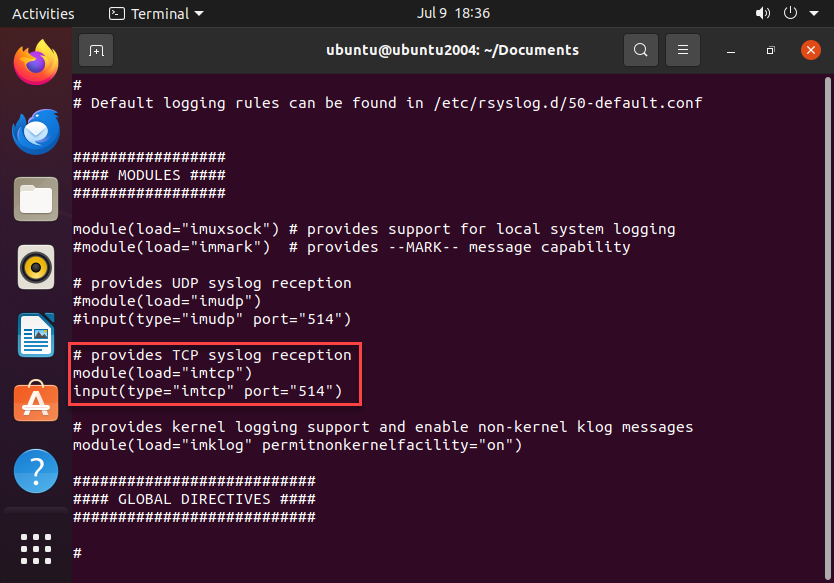
Uncomment the TCP syslog reception (I’ll be using the default port here, you can use whatever works for you).
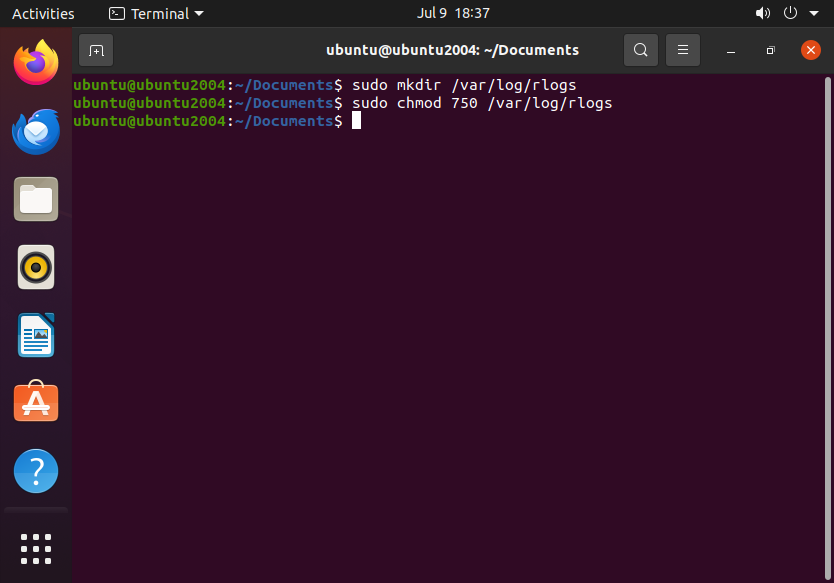
Now that we have the configuration file set we can go ahead and create our logging directory.
Now we need to append a rule to /etc/rsyslog.conf:
$template RemoteLogs,"/var/log/remote/%HOSTNAME%/%PROGRAMNAME%.log"
*.* ?RemoteLogs
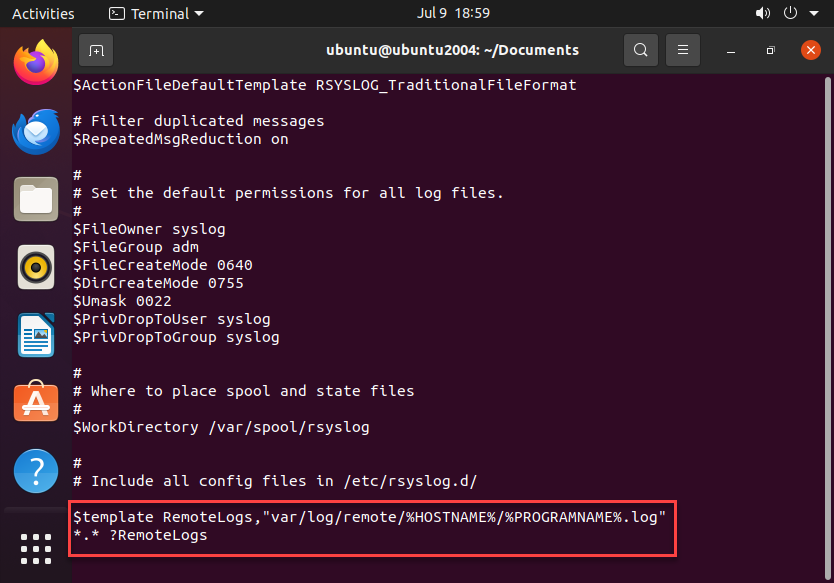
After creating the directory and our rule, we will need to restart the service to have the changes we made go into effect.
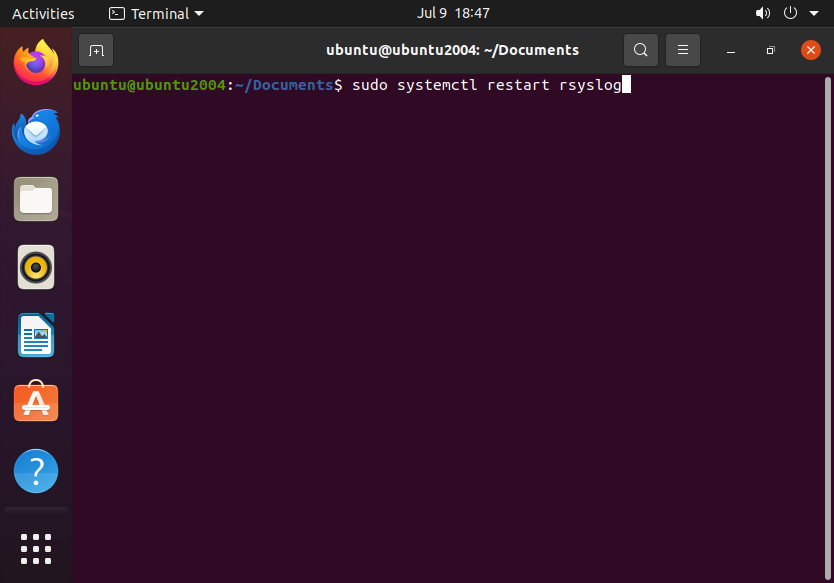
After this point you will have to start setting things up on the client-side. I won’t demonstrate that here as that would require me to spin up more machines, but here is a quick overview on what needs to be done.
Install rsyslog:
sudo apt update
sudo apt install rsyslog
Add the server’s IP address to /etc/rsyslog.conf:
*.* @@<server-ip>:514   # For TCP
*.* @<server-ip>:514    # For UDP
Restart rsyslog:
sudo systemctl restart rsyslog
Now you can go ahead and send a test log to the central server.
Set Up Log Rotation
Use log rotation to manage log size and prevent excessive storage use.
Let’s begin by installing logrotate:
sudo apt install logrotate
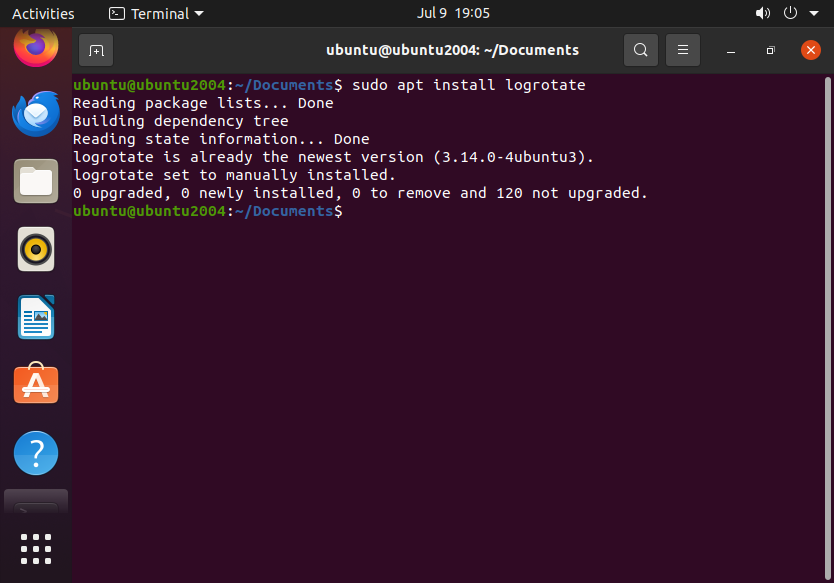
Now we need to create a configuration file for your log. Logrotate configuration files are stored in /etc/logrotate.d:
sudo nano /etc/logrotate.d/mylog
Now let’s add the configuration options (myapp.log is an example log):
/var/log/myapp.log {
    daily               # Rotate logs daily (alternatives: weekly, monthly)
    rotate 7            # Keep 7 rotated logs
    compress            # Compress rotated logs
    missingok           # Ignore missing logs
    notifempty          # Skip rotation if the log is empty
    copytruncate        # Truncate the log after copying it
}
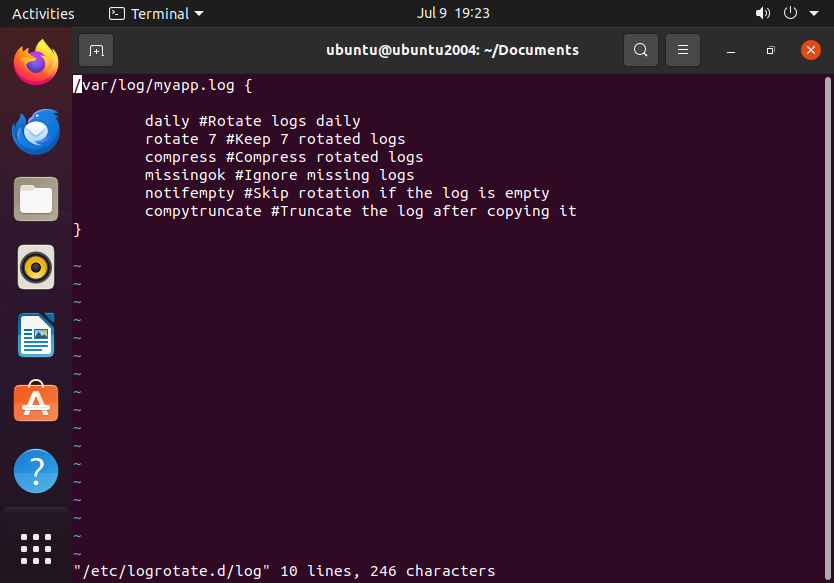
Save the configuration and test:
sudo logrotate -d /etc/logrotate.conf
This runs a dry run and shows what would happen without making changes.
Now, force log rotation for testing:
sudo logrotate -f /etc/logrotate.conf
Enable Auditd
Use the Linux audit daemon (auditd) to monitor system calls and generate audit logs for compliance:
sudo apt install audispd-plugins
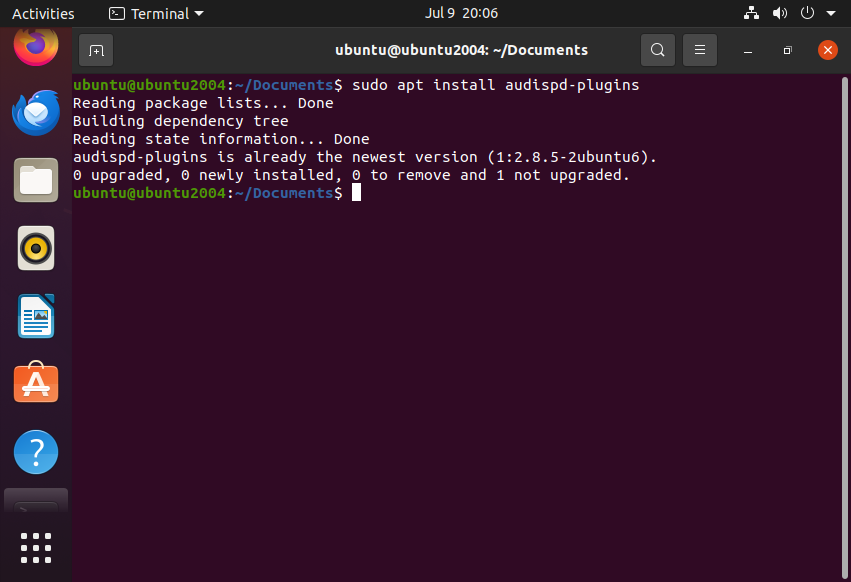
Confirm the installation:
dpkg -l | grep audispd-plugins
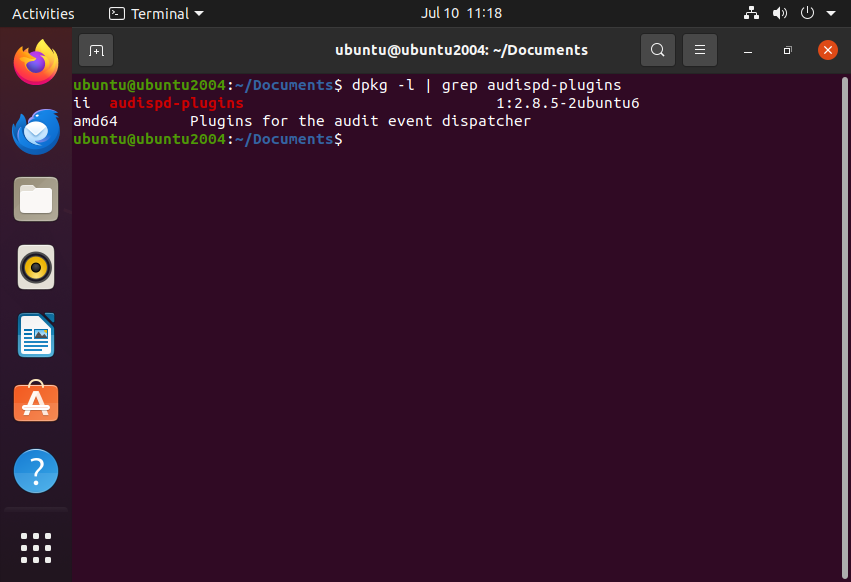
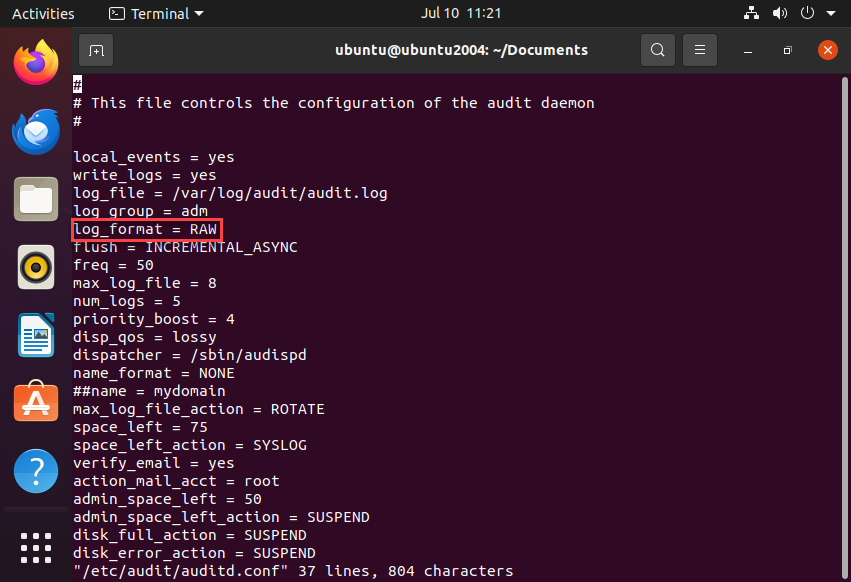
Modify the /etc/audit/auditd.conf configuration file like so:
log_format = RAW
Restart the service:
sudo systemctl restart auditd
Logwatch for Log Summaries: Set up Logwatch to send regular log summaries, helping you spot unusual activities.
I won’t go into detail on setting this up. Please consult outside sources.
Configuring Privacy Settings
Disable Unused Services
Turn off services that aren’t required to minimize exposure
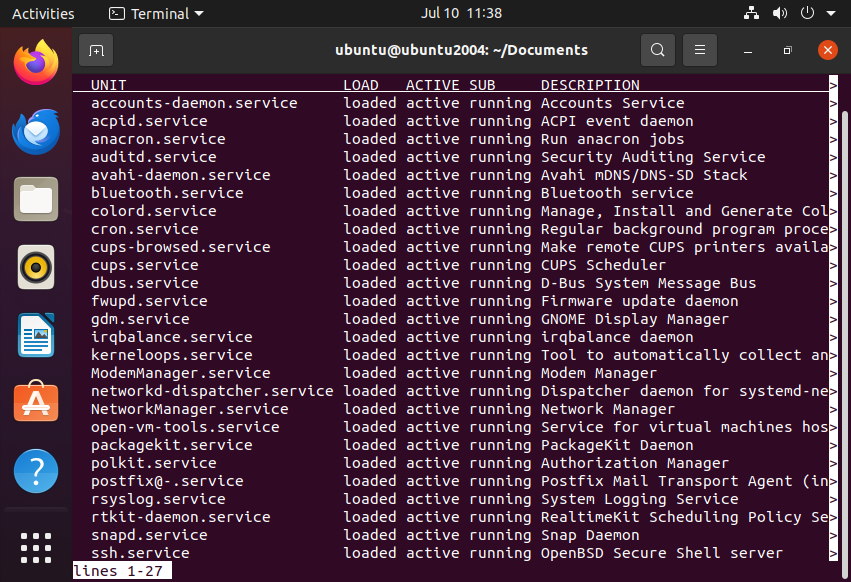
Identify running services using the following command:
sudo systemctl list-units --type=service --state=running
Use the following command to disable a service at startup:
sudo systemctl disable <service_name>
To stop it immediately:
sudo systemctl stop <service_name>
To permanently block unwanted services:
sudo systemctl mask <service_name>
To unblock (if needed):
sudo systemctl unmask <service_name>
Common Services You Might Disable
| Service | Description | Disable If Not Needed? |
|---|---|---|
| cups | Printer service | Yes, if no printers |
| bluetooth | Bluetooth daemon | Yes, if not using Bluetooth |
| nfs | Network File System | Yes, if not using network shares |
| rpcbind | Remote procedure call binding | Yes, if not using NFS/NIS |
| apache/httpd | Web server | Yes, if no web server needed |
| smb | Samba file sharing | Yes, if no Windows file sharing needed |
| ftp | File Transfer Protocol | Yes, unless running an FTP server |
| telnet | Remote login (insecure) | Yes, use SSH instead |
Configure SSH for Privacy
Disable verbose banners and other information disclosures in SSH
Let’s start by disabling SSH banners. We must edit the sshd_config configuration file like so:
sudo vi /etc/ssh/sshd_config
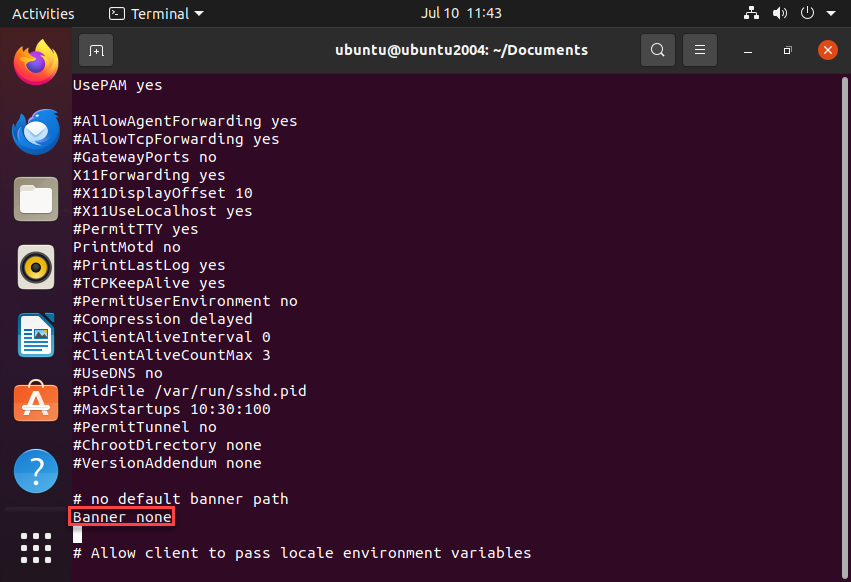
Then, we must prveent SSH from showing system information:
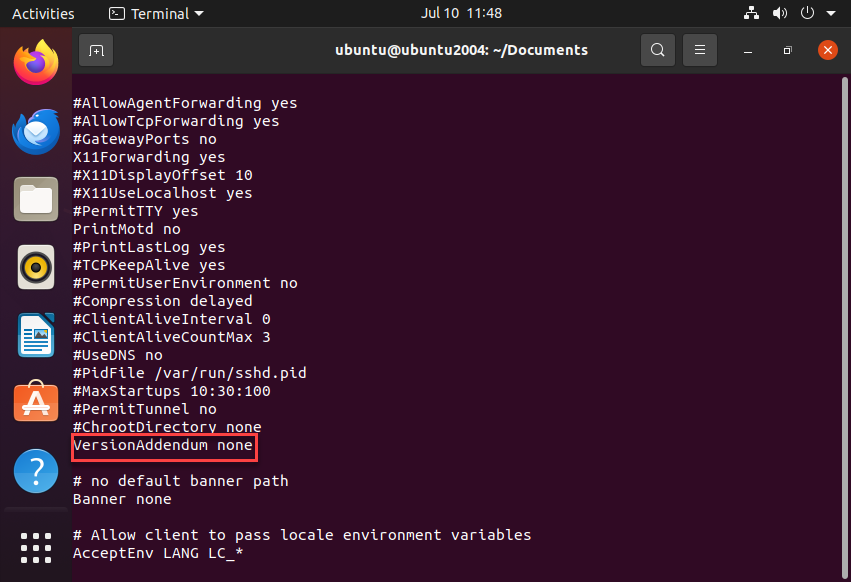
# Prevents revealing OpenSSH version
VersionAddendum none

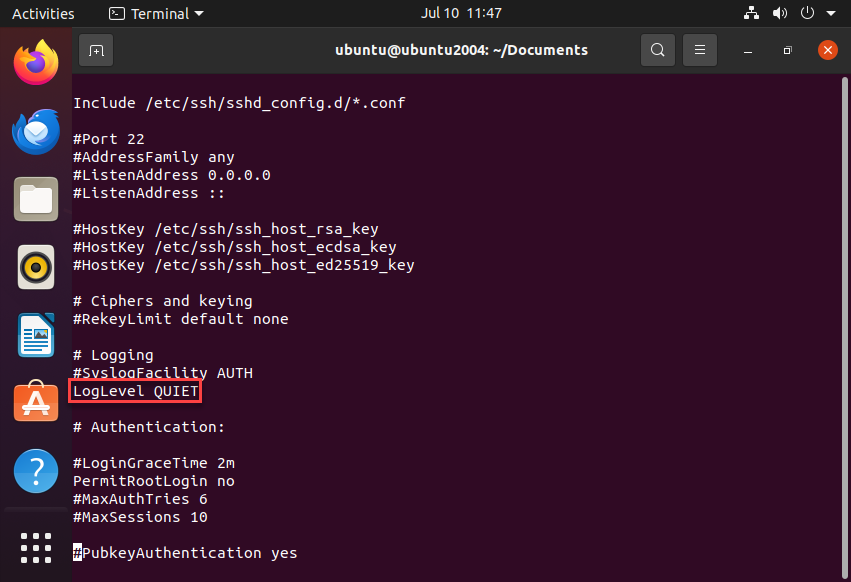
# Limits authentication failure messages
LogLevel QUIET
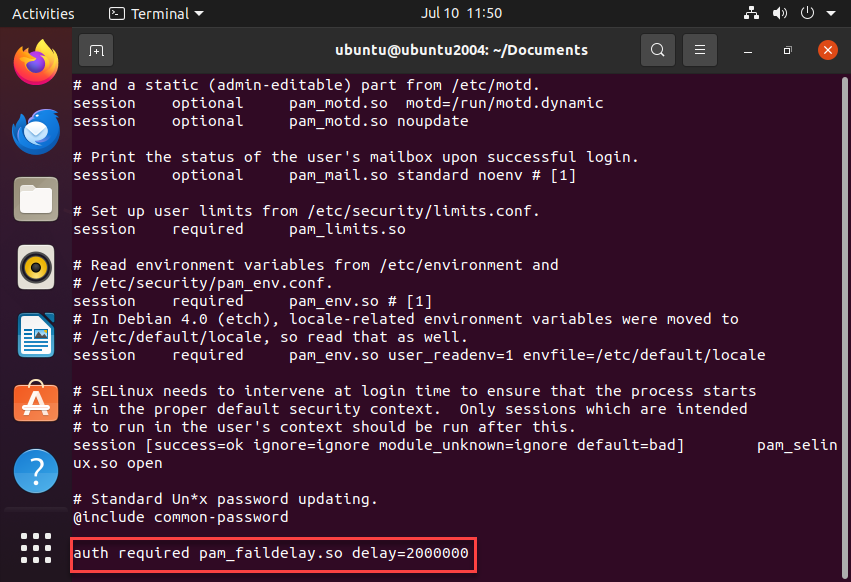
Hide Usernames from failed logins:
sudo vi /etc/pam.d/sshd
Edit the configuration file by adding the following:
auth required pam_faildelay.so delay=2000000
Next, disable MOTD and Issue Messages:
sudo chmod -x /etc/update-motd.d/*
Prevent issue.net from displaying:
sudo nano /etc/issue.net
Remove or comment out any text here.
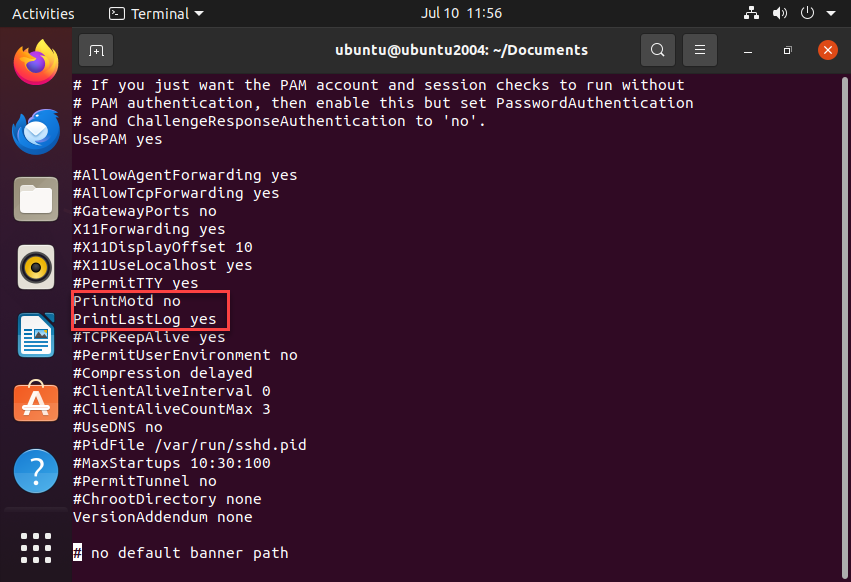
In /etc/ssh/sshd_config, ensure:
PrintMotd no
PrintLastLog no
Limit User Data Exposure
Restrict access to system information (like /etc/passwd) by using tools like usermod or chmod
Restrict access to /etc/passwd and /etc/shadow. By default, /etc/passwd is world-readable, but it should not be world-writable. The /etc/shadow file, which contains password hashes, should only be accessible by root.
Next, let’s restrict User Listing (who, w, finger).
Prevent non-root Users from seeing other Users. Set /proc restrictions to limit user listing:
echo 1 | sudo tee /proc/sys/kernel/yama/ptrace_scop
Make it persistent across reboots:
echo "kernel.yama.ptrace_scope = 1" | sudo tee -a /etc/sysctl.conf
sudo sysctl -p
Restrict Access to User home directories. By default, home directories may be readable by all users. Restrict access so only the owner can read/write.
Check current permissions:
ls -ld /home/*
Restrict home directory access. To allow only the owner to access their home directory:
sudo chmod 700 /home/*
This ensures only the user can access their files. Next, disable Finger and User Info Commands. Commands like finger and who expose user details.
Uninstall finger if present:sudo apt remove finger # Debian-based
sudo dnf remove finger # RHEL-based
Restrict who, w, last. Edit /etc/pam.d/sshd:sudo nano /etc/pam.d/sshd
Add:account required pam_access.so
Next, Lock Unused User Accounts. Disable unused accounts to minimize risk:
sudo usermod --expiredate 1 username
Or completely remove an unused user:sudo userdel -r username
Finally, restrict Access to su. Create the wheel group (if it doesn’t exist):sudo groupadd wheel
Add allowed users to the wheel group:sudo usermod -aG wheel youruser
Restrict su access: Edit /etc/pam.d/su:sudo nano /etc/pam.d/su
Uncomment this line:auth required pam_wheel.so
Save and restart PAM:sudo systemctl restart sshd
Enable System Anonymization
Use tools like macchanger for randomizing MAC addresses or disable hostname broadcasts
Install macchanger:
sudo apt update
sudo apt install macchanger
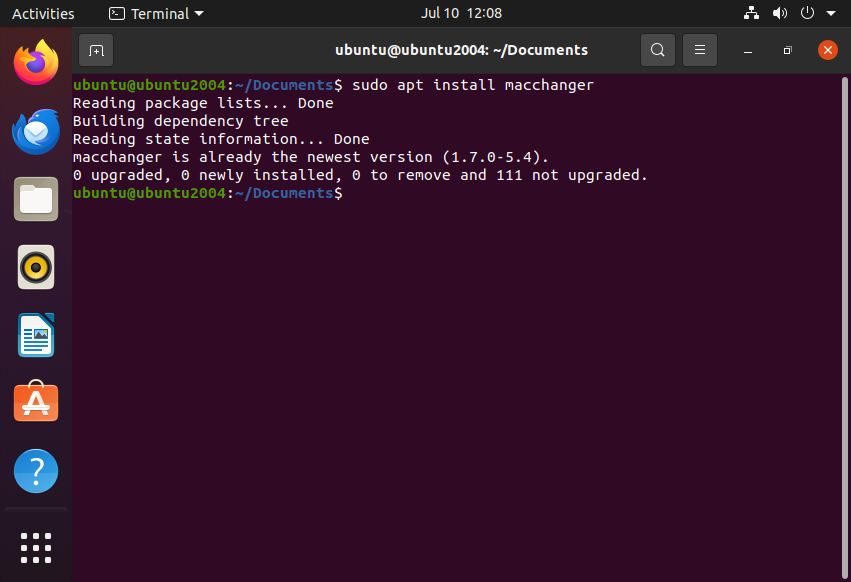
See the manual page for this tool for more information.
Control Metadata on Shared Files
Remove or limit metadata from shared documents to prevent information leakage
Use tools like exiftool and pdfinfo to remove metadata from files. I won’t go into detail on how to do that here. There is a plethora of information available on how to accomplish this.
General Configurations
Secure Bootloader with GRUB Password
Set a password for GRUB to prevent unauthorized access or modifications to boot parameters
Setting a password for GRUB helps prevent unauthorized users from modifying boot parameters (e.g., entering single-user mode or changing kernel options) and gaining elevated privileges.
Limit SUID/SGID Binaries
Regularly review and restrict setuid and setgid permissions, as they can allow privilege escalation
First we must identify SUID and SGID binaries:
Find SUID binaries:
sudo find / -perm -4000 -type f 2>/dev/null
Find SGID binaries:
sudo find / -perm -2000 -type f 2>/dev/null
Find SUID/SGID Binaries together:
sudo find / -perm /6000 -type f 2>/dev/null
Next we analyze and restrict unnecessary SUID/SGID bianries:
Remove SUID from a File:sudo chmod u-s /path/to/file
Remove SGID from a File:sudo chmod g-s /path/to/file
Example: Remove SUID from ping:sudo chmod u-s /bin/ping
Lastly, prevent SUID/SGID Binaries in User Home Directories. To ensure users cannot set SUID/SGID permissions, modify /etc/fstab to disable SUID for home directories.
Edit /etc/fstabsudo nano /etc/fstab
Find the line for /home, and add nosuid:/dev/sdX /home ext4 defaults,nosuid 0 2
Save and remount:sudo mount -o remount /home
Enable Intrusion Detection
Use tools like AIDE or OSSEC to monitor changes to critical files and alert on suspicious activity
Install AIDE or similar to monitor file integrity:
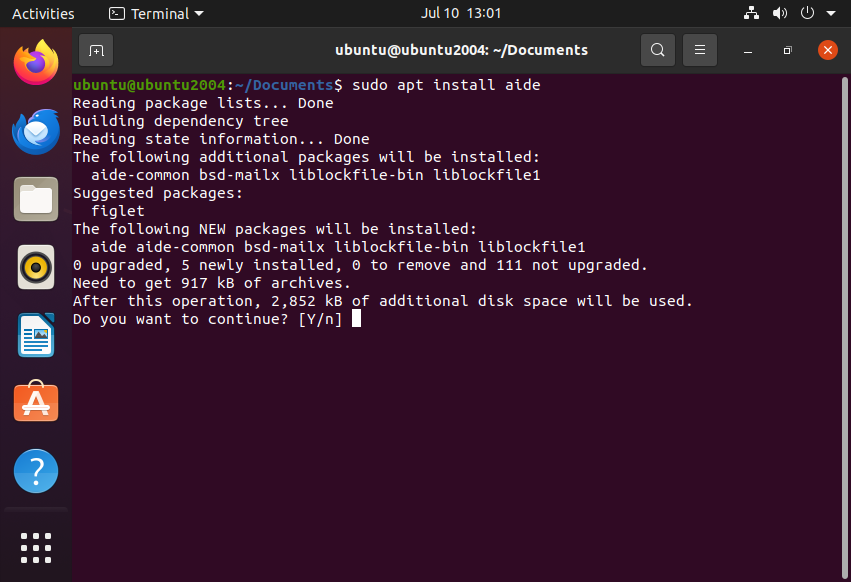
I won’t go into detail on how to configure this tool. There are plenty of resources available online.
Limit Kernel Modules
Remove or disable unneeded kernel modules to reduce the system’s attack surface
List all loaded moduleslsmod
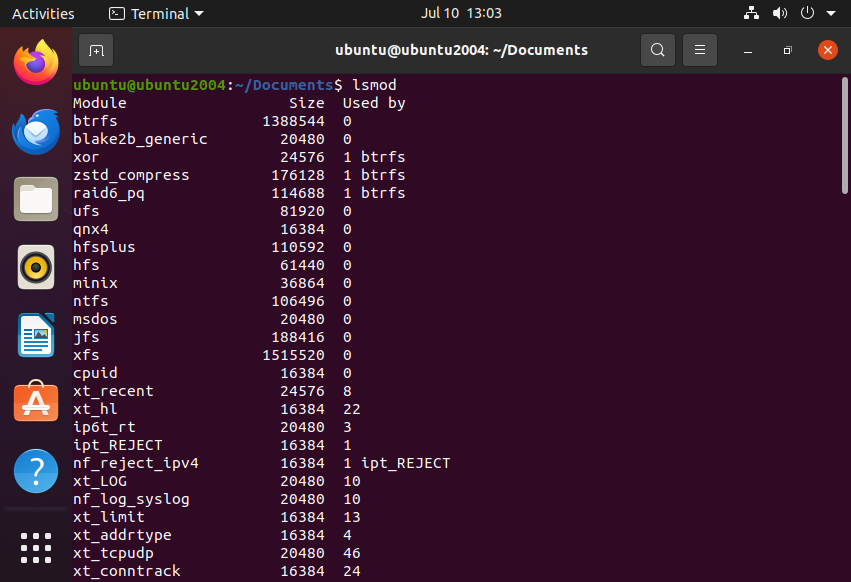
Check if a specific module is loadedlsmod | grep
View detailed module informationmodinfo
Example:
modinfo usb_storage
Next, you would want to identify the unnecessary modules and remove them.
If you find a module that should not be loaded, remove it temporarily using:sudo modprobe -r
Example:sudo modprobe -r usb_storage
Note: This change is not persistent and will reset after reboot.
To prevent a module from loading at boot, blacklist it.
Option 1: Use modprobe Blacklisting
Edit the blacklist file:sudo nano /etc/modprobe.d/blacklist.conf
Add the module names to disable:blacklist usb_storage
blacklist firewire-core
blacklist bluetooth
Save and exit.
Update the initramfs (for persistence):sudo update-initramfs -u
Reboot and verify:lsmod | grep
Option 2: Disable Modules via Kernel Parameters
For a stricter approach, disable modules at the kernel level.
Edit the GRUB configuration:sudo nano /etc/default/grub
Add the following to GRUB_CMDLINE_LINUX:modprobe.blacklist=usb_storage,firewire-core,bluetooth
Example:GRUB_CMDLINE_LINUX="quiet splash modprobe.blacklist=usb_storage,firewire-core,bluetooth"
Save and update GRUB:sudo update-grub
Reboot and verify.
Lastly, let’s cover how to remove unnecessary kernel modules completely.
If you never need a module, remove it from the system.
Find the module package:dpkg -S # Debian-based
rpm -qf $(modinfo -n ) # RHEL-based
Uninstall the package:sudo apt remove # Debian-based
sudo dnf remove # RHEL-based
Enable Immutable Flag on Key Files
Use the chattr +i command to make critical configuration files (e.g., /etc/passwd, /etc/shadow) immutable. This prevents even root from modifying or deleting them without first removing the immutable flag
Enable the Immutable Flag (+i)
To make a file immutable, use the chattr command. Protect /etc/passwd and /etc/shadow: sudo chattr +i /etc/passwd
sudo chattr +i /etc/shadow
Protect /etc/fstab (Prevent Unauthorized Mounts)sudo chattr +i /etc/fstab
Protect SSH Configuration (/etc/ssh/sshd_config)sudo chattr +i /etc/ssh/sshd_config
Verify Immutable Flag. After applying +i, verify the flag with:lsattr /etc/passwd /etc/shadow /etc/fstab /etc/ssh/sshd_config
Example output:----i-------- /etc/passwd
----i-------- /etc/shadow
----i-------- /etc/fstab
----i-------- /etc/ssh/sshd_config
The i indicates the file is immutable.
Disable Immutable Flag (if necessary). If you need to update a file, you must remove the immutable flag first.
To disable the immutable flag:sudo chattr -i /etc/passwd
sudo chattr -i /etc/shadow
Now, you can modify the file. After making changes, re-enable the immutable flag:sudo chattr +i /etc/passwd
Prevent Unauthorized Removal of Immutable Flags. To ensure only root can remove +i, restrict chattr:sudo chmod 700 /usr/bin/chattr
Enable Logging for Sudo Commands
Configure sudo to log all commands executed with elevated privileges by adding Defaults logfile=”/var/log/sudo.log” to the /etc/sudoers file. This creates a trail of privileged actions that can be audited in case of suspicious activity
First, we must configure Sudo to log commands:
Open the sudoers configuration:sudo visudo
Add the following line at the end:Defaults logfile="/var/log/sudo.log"
Save and exit.
Now we must verify Sudo logging. After adding the configuration, test logging:
Run a sudo command:sudo ls /root
Check the log:cat /var/log/sudo.log
Example output:Jan 05 14:30:12 user : TTY=pts/0 ; PWD=/home/user ; USER=root ; COMMAND=/bin/ls /root
Restrict Shell Access for System Accounts
For system and service accounts that do not need interactive login access, set their shell to /usr/sbin/nologin or /bin/false in /etc/passwd. This prevents attackers from accessing these accounts via shell, reducing potential entry points.
System and service accounts do not require interactive shell access. Restricting their login shell helps reduce attack surfaces and prevents unauthorized access.
Let’s identify system accounts. To find non-human accounts that might have shell access, run:cat /etc/passwd | grep -E "/bin/bash|/bin/sh"
This lists accounts with interactive shell access. Alternatively, list all system accounts (UID < 1000 on most systems):awk -F: '($3 < 1000) {print $1, $7}' /etc/passwd
Next let’s restrict shell access for system accounts. Set the login shell to /usr/sbin/nologin (preferred) or /bin/false.
/usr/sbin/nologin → Displays a “This account is currently not available” message.
/bin/false → Denies access without a message.
Modify a specific account. To prevent a specific account from logging in:sudo usermod -s /usr/sbin/nologin
Example:sudo usermod -s /usr/sbin/nologin apache
Modify multiple accounts. To change all system accounts that should not have shell access:for user in awk -F: '($3 < 1000 && $7 !~ /nologin|false/) {print $1}' /etc/passwd; do
sudo usermod -s /usr/sbin/nologin $user
done
Lastly, verify changes. Check if the account’s shell has been updated:grep "" /etc/passwd
Example:grep "apache" /etc/passwd
Expected output:apache:x:48:48:Apache:/usr/share/httpd:/usr/sbin/nologin
More to come…!!!

